Файлы ресурсов
Требования
- info RailClone 6 Lite or Pro
In this tutorial, we're going to explore the power of macros in RailClone. Macros enable you to create your own nodes by encapsulating part, or even entire graphs, inside a simplified interface. To illustrate, we're going to show you how to convert a complex graph into a simple macro, and it's just a matter of a few clicks.
How to convert the graph to a macro in RailClone 6
Here's how to simplify an entire graph into a macro.
- Begin by creating a new Macro node.
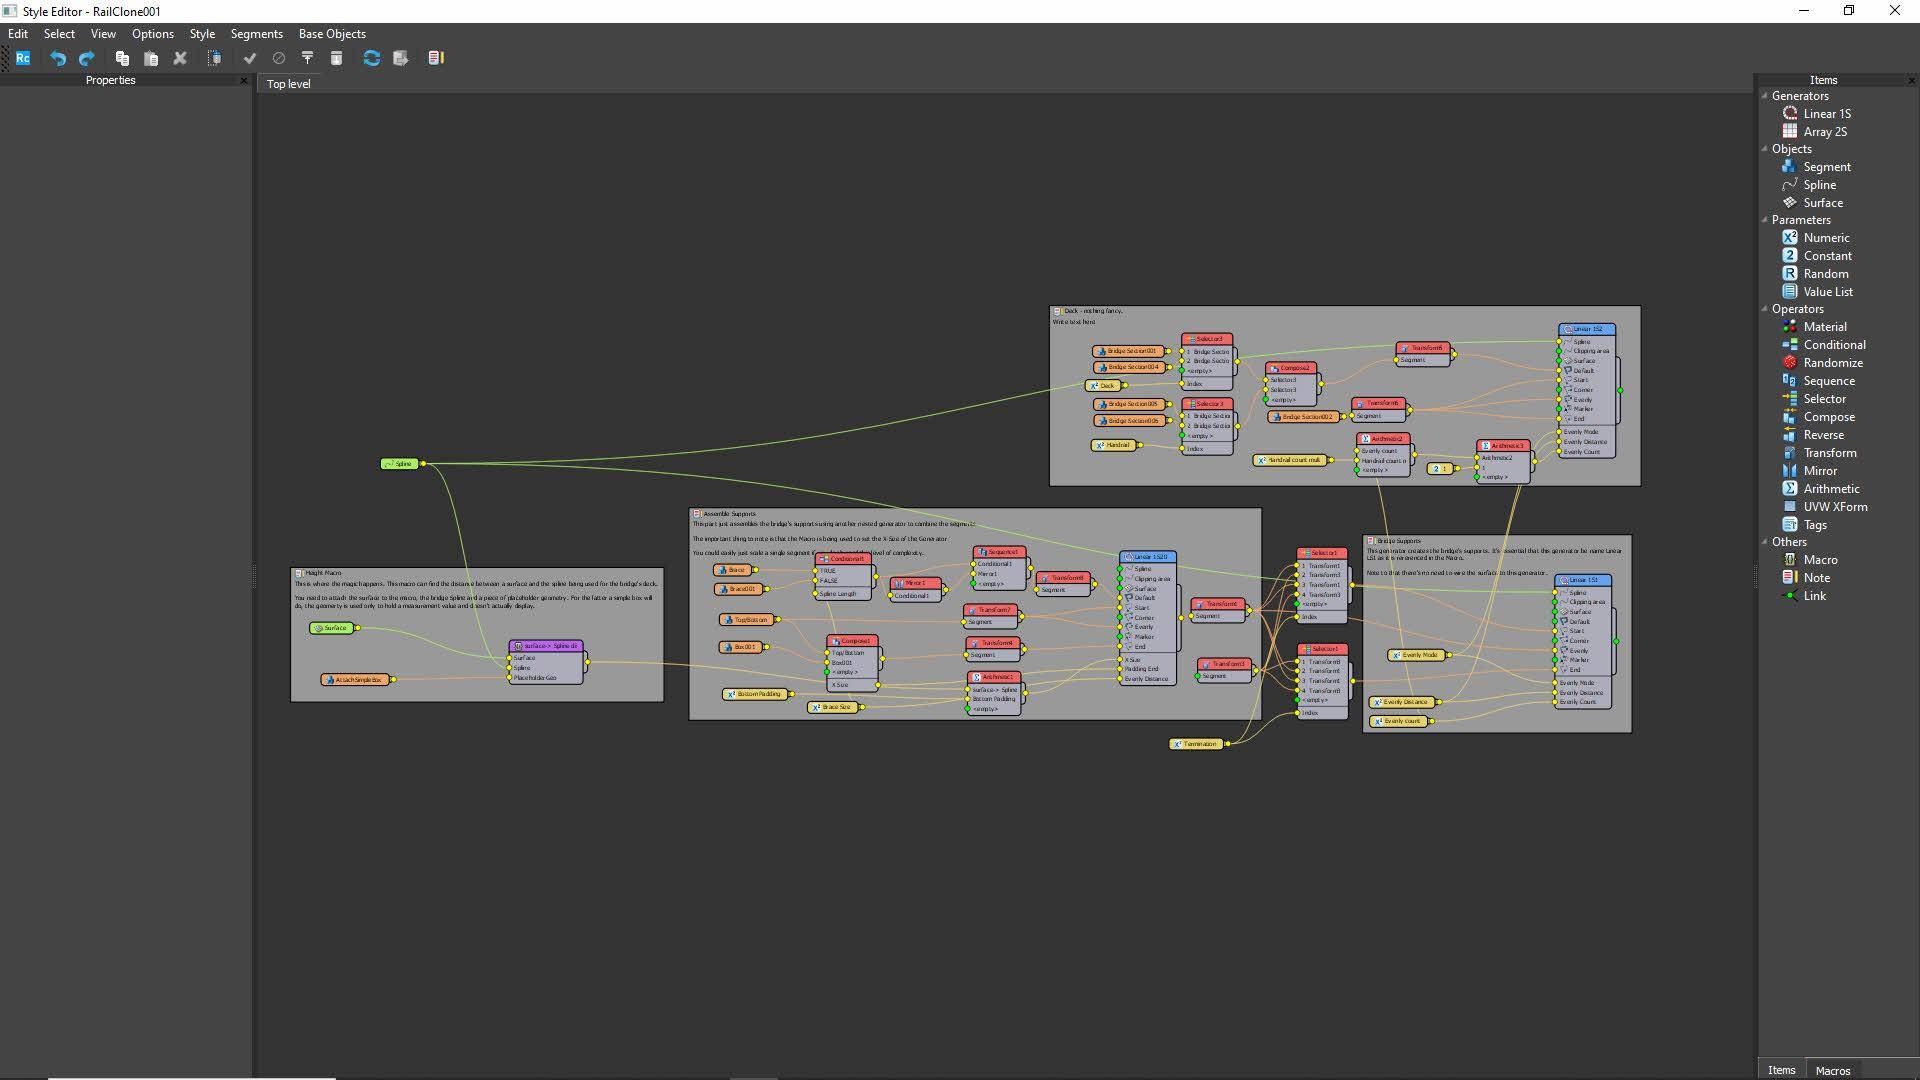
- Select the entire graph, excluding the Macro node, and copy it.
- Open the macro node's sub graph in a new tab by double clicking on it. Paste the copied graph here.
- Once you switch back to the main graph, you'll see your new macro! From RailClone 6 onwards, all base objects are automatically converted into inputs, and numeric nodes, including drop-down lists, are turned into properties.
- Although we don’t need it for this graph, I want to mention the Output node. This node allows you to add an single Output to the macro, allowing you to create Macros that can be used as a part of a graph, rather that replacing the whole graph. Depending on the type of Macro you want to create you can change the mode so that it outputs geometry, in which case you’d choose segment, or a value, in which case you’d choose Numeric.
Essentially that’s it, creating macros in RailClone 6 is a simple case of copy and paste.
We could leave it there, but let’s take this opportunity to look at some additional options to tidy up the parameters panel and change the order of the inputs.
Changing input order
To change the order of inputs:
- Return to the Macro's graph.
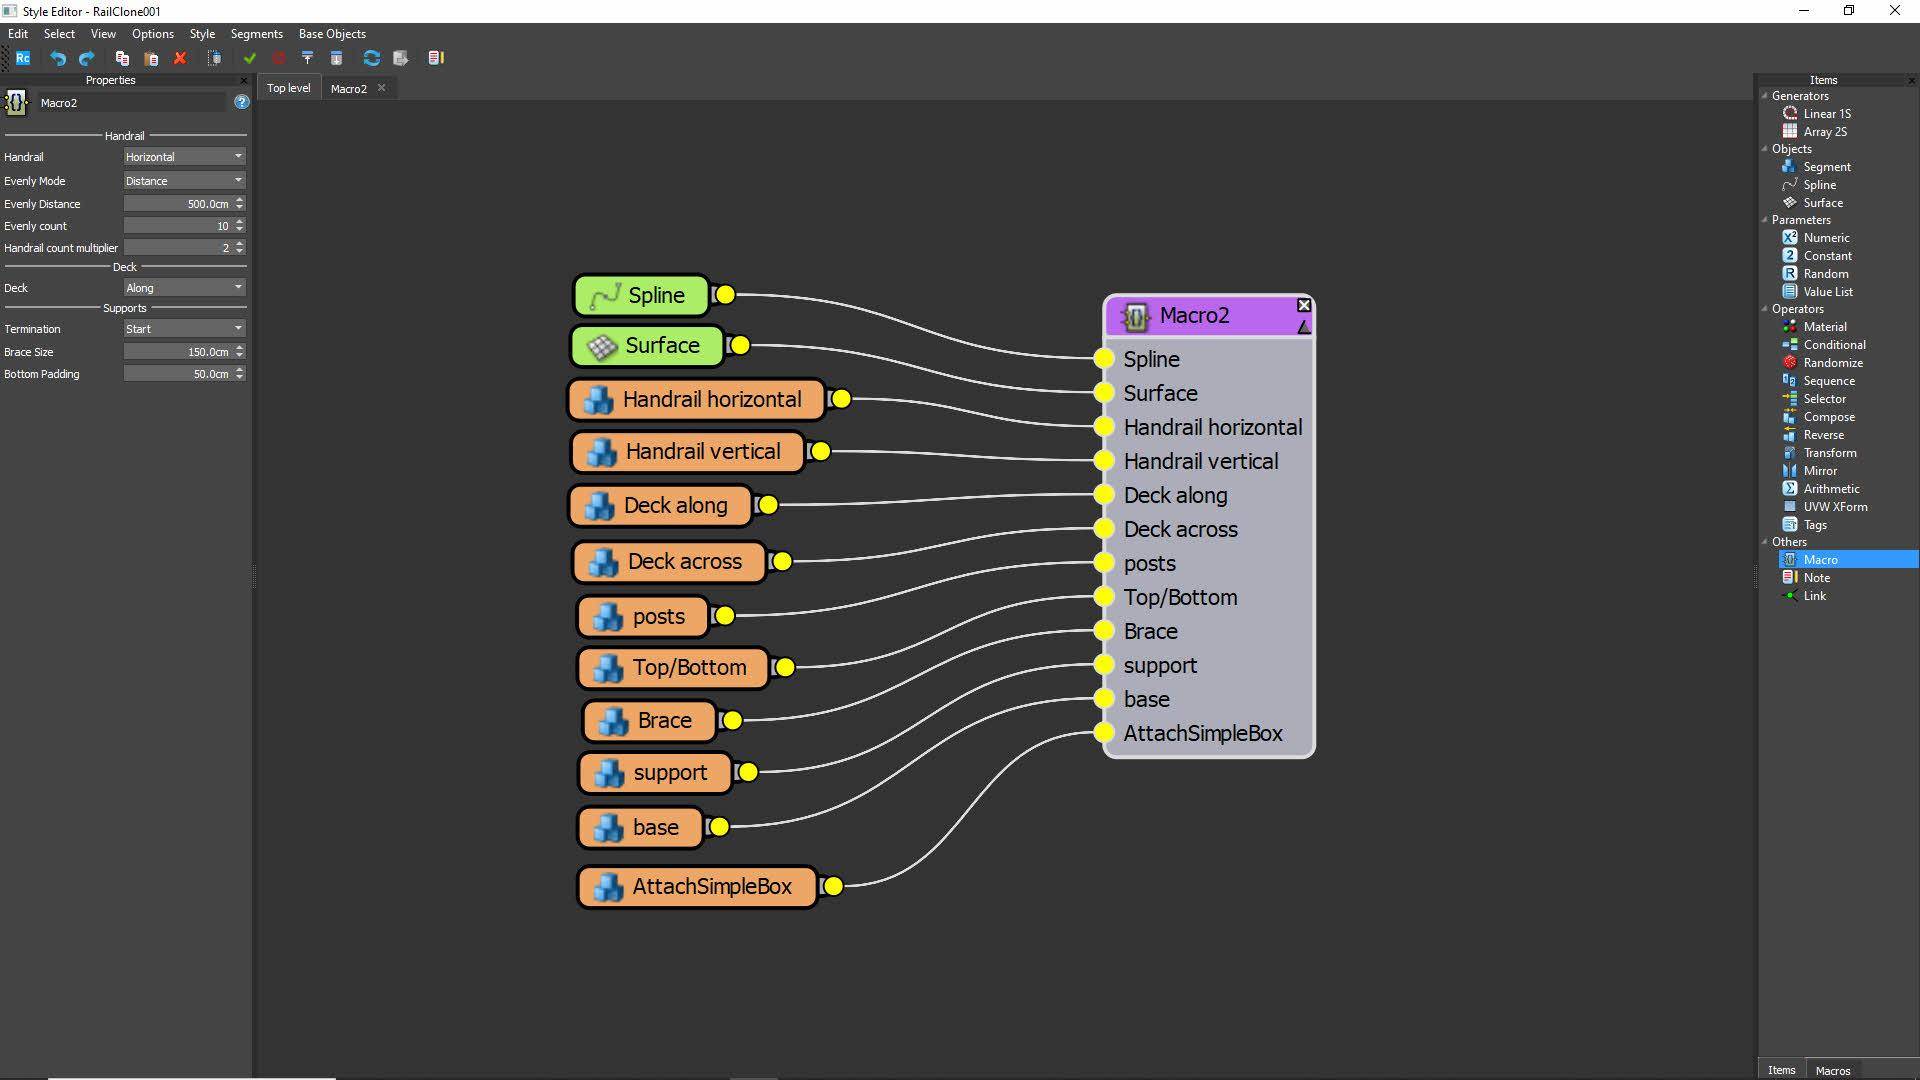
- Navigate to the Macro menu at the top of the window and select Define Inputs Order.
- From there, you can select an input and use the arrow keys to move it to a more logical position.
Organising Parameters
In RailClone 6, you can also organise your parameters.
- Again, navigate to the Macro menu in the Macro's graph and select Define Parameters order.
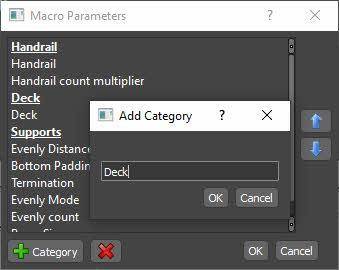
- Apart from changing the order of the parameters using the arrows, you can add labels to create logical categories.
- Add a category, Click on the + button, give it a name, and position it using the arrow keys, just like we did with the parameters.
- Once you return to the main graph and select your macro, you'll see your newly organised parameters in the Properties panel.
How to password protect a macro
If you've invested time creating a useful macro, you might want to restrict access to the graph. With RailClone 6, you can password protect your Macro.
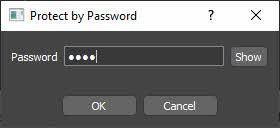
- Simply navigate to the Macro menu inside the Macro's tab and select Protect by Password.
- Enter a password, click OK, and you're done.
- The next time you or someone else tries to access it, a password will be required.
How to save a macro
Lastly, if you want to share your macro with other users or just save it for your archives:
- Right-click on the Macro and navigate to Macro > Save as. Enter a file name and click Save. If your macro was password-protected, this file will be encrypted so you can safely share it.
- To load a saved macro, into a new graph, Create a new Macro node, right-click and select Load From. Find an RCM file and click Open. Easy as that!
And that wraps up our tutorial on how to leverage the power of macros in RailClone 6. By following these steps, you can create your own nodes, simplify complex graphs, and even protect your work.