Файлы ресурсов
From RailClone 4 onwards, the free Lite version is able to use the powerful Segment Deform features that had previously been restricted to the Pro edition.
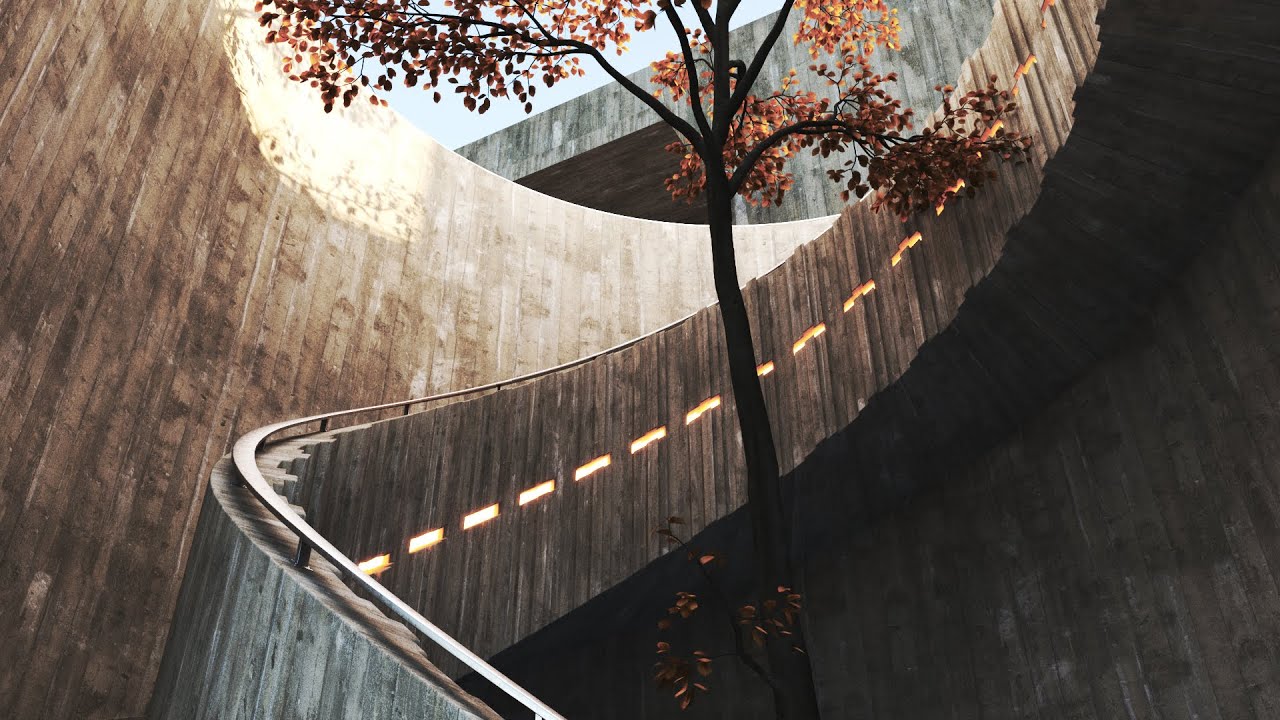
In this quick tip tutorial, we wanted to take a very simple piece of geometry and illustrate how the deform modes work so that you can start to use them in your own styles. For this example, we’ll be using the segment shown below to create a basic concrete staircase.
The geometry has been designed to make it clear how the 3 different modes affect the deformation with obvious horizontal and vertical elements. The pivot has been set to the outside edge
Let’s create the style:
- Create a new Helix object to define the path of the staircase
- Add a Normalise Spline modifier to the helix. This is because the Helix spline primitive has linear edges by default. Adding this modifier allows us to convert them to curves in a way that maintains procedural control
- Create a new RailClone object and open the Style Editor
- Create a new Linear Array
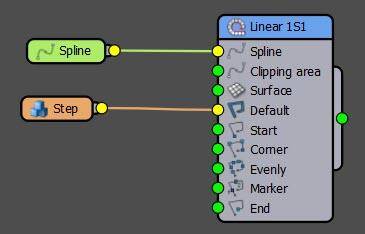
- Add a Spline node. From the Properties panel, pick the Helix from the scene.
- Wire the Spline node to the Generator’s Spline input
- Add a Segment node. From the Properties panel, pick the Step from the scene.
- Wire the Segment node to the Generator Default input
- Select the Segment node and tell RailClone to align the geometry using the Pivot on its Y-axis by changing the Alignment > Y Parameter to Pivot.
![Alignment]()
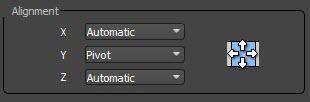
That’s the basic style done, now we can experiment with the deform modes.
- In the default mode, called Adaptive, the geometry's verticals are aligned perpendicular to the path. The geometry will also bank to follow the path. In this instance this is clearly not what we want, so let’s change the mode to Vertical In this mode, the vertical elements remain upright, but the horizontal elements are deformed on the Z axis to match the elevation of the path. This is looking much better for this particular style, but it doesn’t really suit the stair treads.
- A better match for this would be the Stepped mode. When this is selected no deformations are applied at all on the Z-axis, and the segment preserves its vertical and horizontal alignment. This has fixed the steps, but it may not be suitable for the handrails. Ideally what we want is for the top and bottom of the geometry to follow the spline, with the step section remaining stepped. Thankfully RailClone has the ability to do this using two hybrid modes that combine the Vertical and Stepped deformation algorithms.
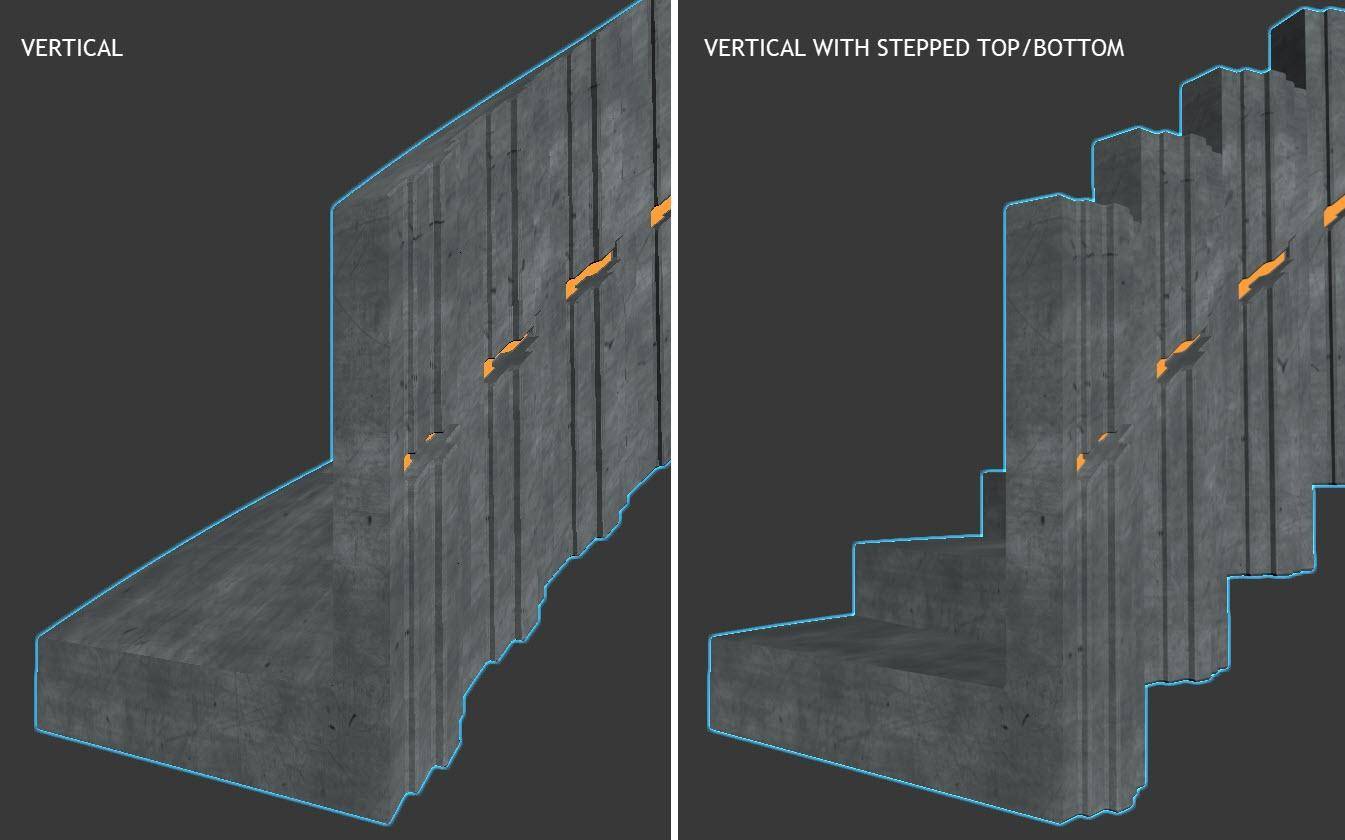
- First of all, you can create a Vertical mode with a Flat Top and/or Flat Bottom. To do this, change the mode to Vertical and increase the Flat Bottom value. This parameter determines a zone, measure from the bottom of the geometry, that will remain stepped while the rest of the segment follows the spline using the Vertical algorithm. If you were to increase the Flat Top value as well, you will create a stepped effect at the top of the spline, leaving only the middle of the segment using Vertical mode. You can see this evident in the way the lights continue to follow the helix, even though the top and bottom are stepped.
![Vertical Mode]()
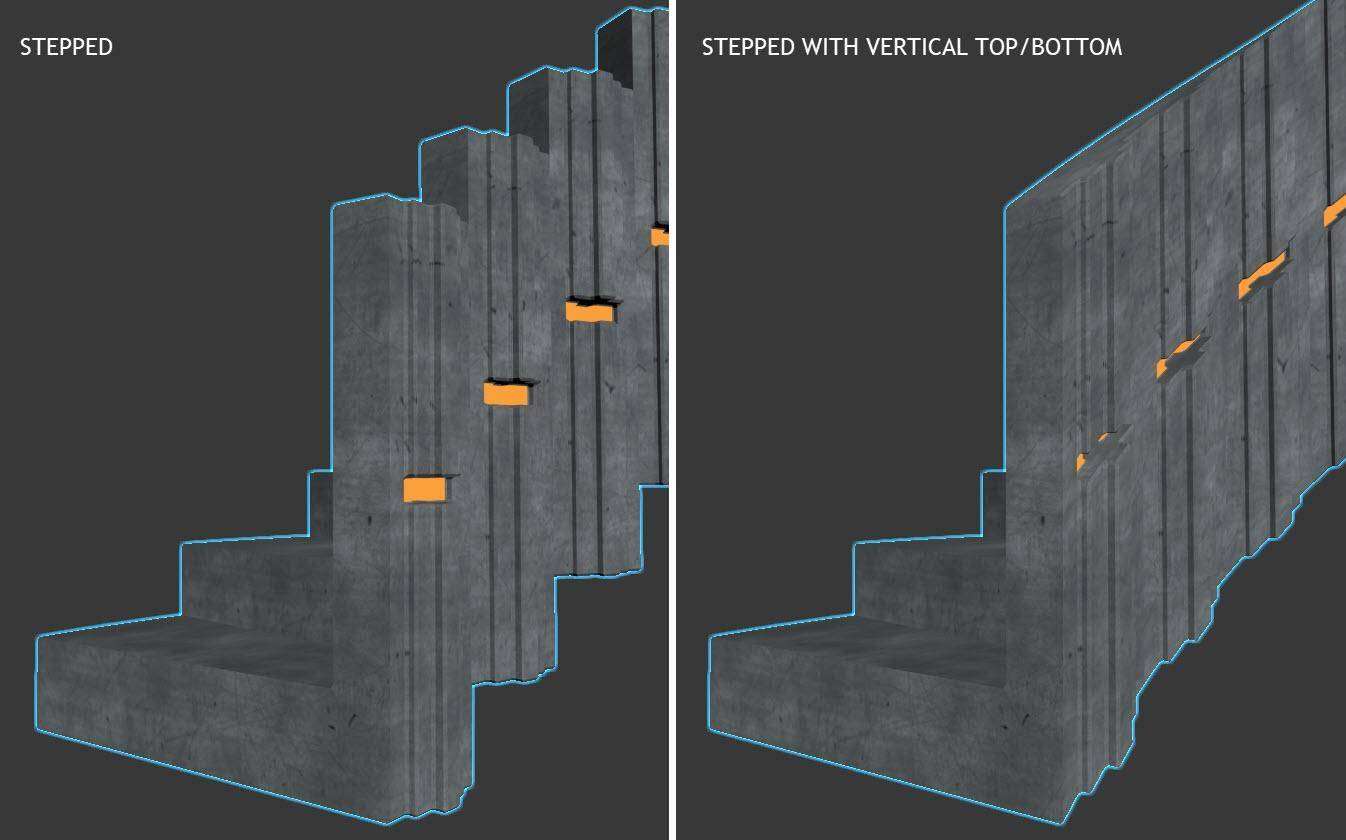
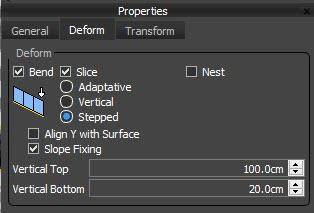
This can be very useful, but it’s the opposite of what we want in this case, so let's take a look at the final option which is Stepped mode with a Vertical top or Bottom. - Change the mode to Stepped and increase the Vertical Bottom value just a little so that the bottom of the stairs follows the helix. The steps should remain, well, stepped.
- You can do the same for the top, Increase the Vertical Top value until the top of the handrail follows the spline. In between the top and bottom, the area is still stepped as you can see by the treads on the stairs and the lights.
![Stepped Mode]()
What if we wanted the lights to follow the helix? That’s easy, just increase the Vertical Top value until the distance encloses that part of the geometry.![]()
And this finishes our little stairs example. We hope you can see that these options can be really useful for a wide range of styles, and remember, they are now available in RailClone Lite as well as the ability to collapse the geometry to a static mesh which can be handy for exporting an object to a games engine or other application. We hope you found this tutorial useful, please stay tuned for more quick tips coming soon.