Требования
- info 3DS Max 2010, Forest Pack Pro

Tutorial Steps
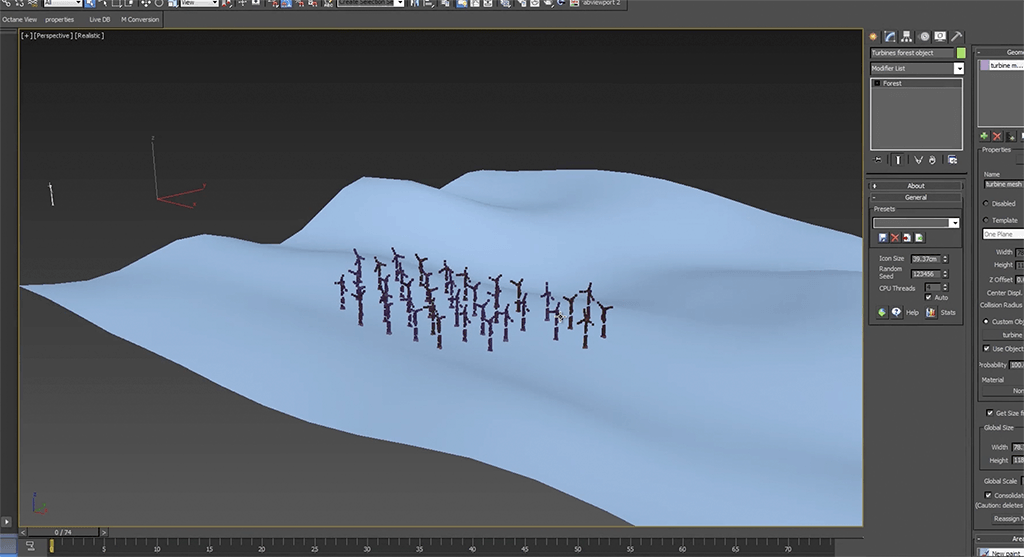
- First prepare .max files, these will contain a separate Forest object for each preset. Configure the Forest object's parameters as you would normally including geometry, distribution, transforms, materials, diversity etc.
- Save the max file to your Forest library folder, see below for more information on file structures.
- Open the library browser and from the navigator on the left, select a user library.
- Right click in the items grid and select Create Item>3d Object
- A new blank Preset will be created in the item browser. To edit, right click on the item and select Properties…
- Fill in the Taxonomy values if required
- Click on the folder icon next to the Max File field to select the .max scene file that contains the preset (created in step 1).
- A list will open containing the objects in the scene, pick a Forest object that you wish to use as a preset. A single max file can contain multiple objects, geometry and presets that be combined in a single external file without problems.
- Add a thumbnail by clicking the image file button below the thumbnail preview window. Select an image file and click OK.
- Click OK to accept the changes
- Save the library by going to File>Save… or selecting the save library button
![Creating Presets-library_save_button.gif]() from the top toolbar.
from the top toolbar. - To use the preset, select in the same way as though it were a 3d object. See the Library Browser reference for more information.
 from the top toolbar.