Файлы ресурсов
Требования
- info Forest Pack Pro

Video Transcript
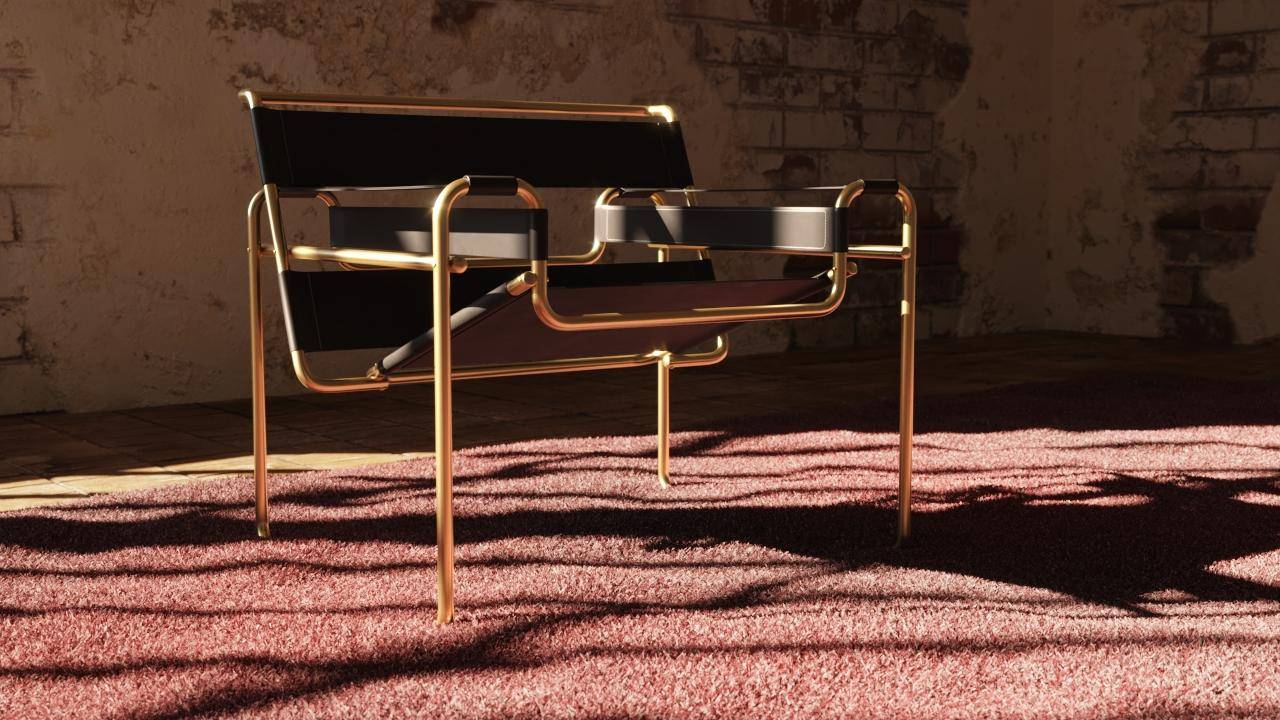
It's quite common to use scattering tools like Forest Pack to create a rug, but what happens when you want to put furniture on it? In some cases, it can be challenging to get the furniture to look as though it is sitting on the rug convincingly, especially if it has thin leg elements or is a particularly deep pile rug.
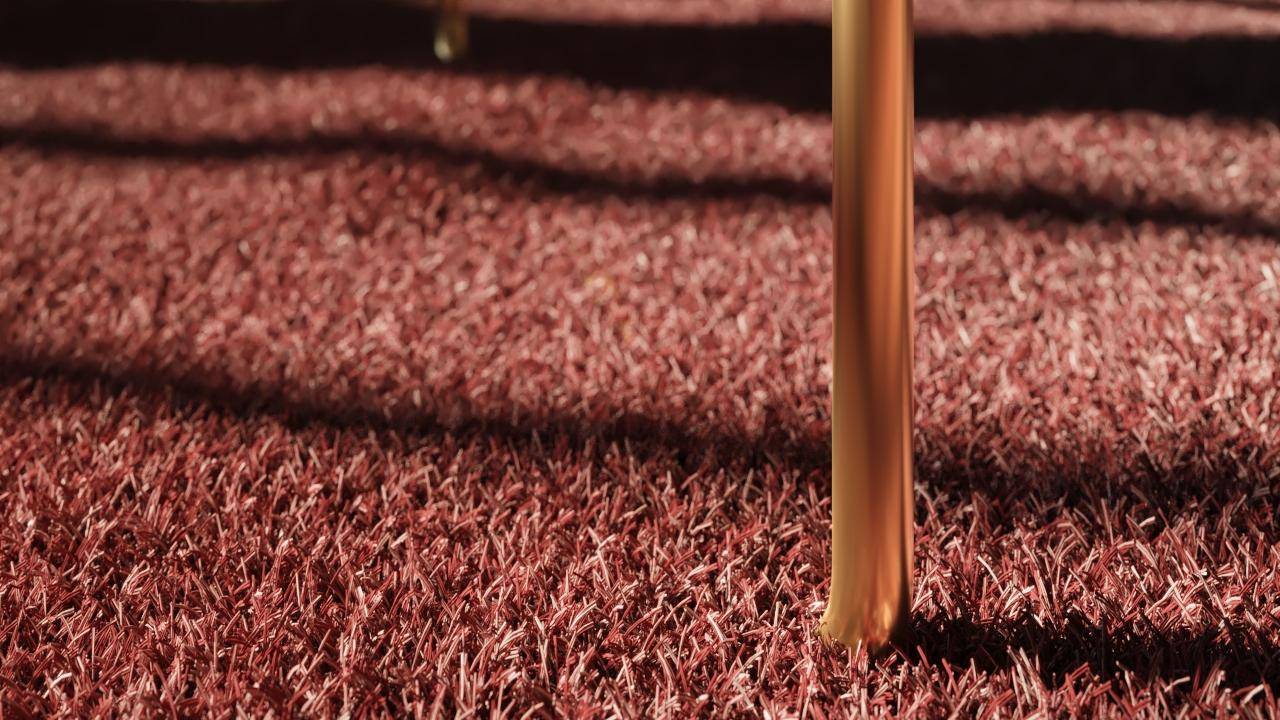
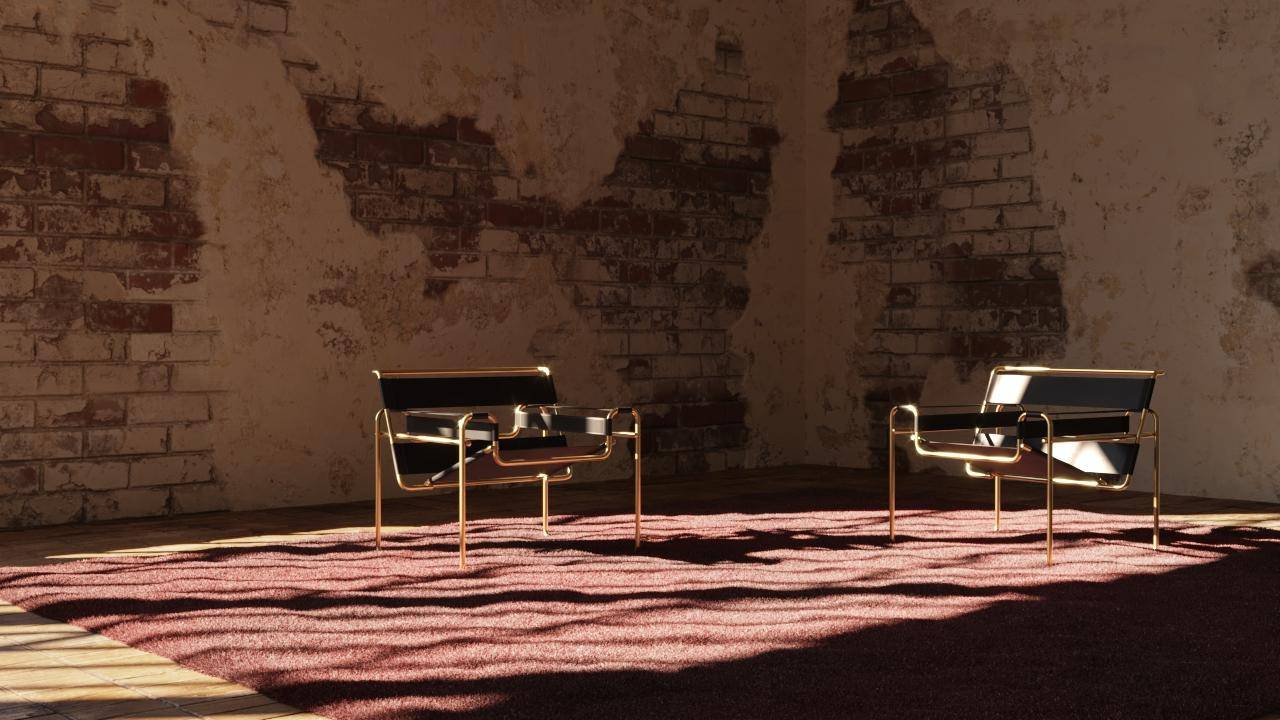
Take this example, which has both those characteristics. You can see the bottom of the chair is lost in the rug. You could move the chair up, but then it will look as though it’s floating on the top of the fibres.
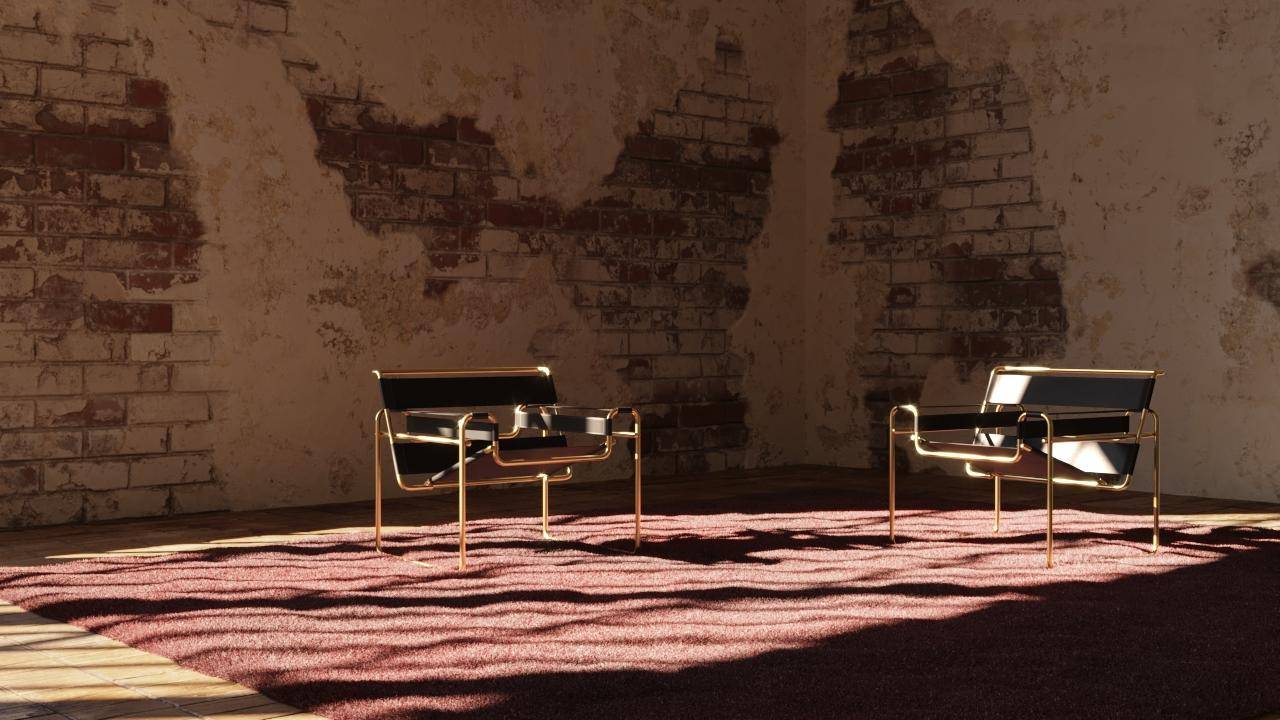
In this tutorial, I’ll show you a quick way to simulate the strands of the rug being pushed aside by the chair, much as they would be in real life. Here’s how our close-up would look with this effect.
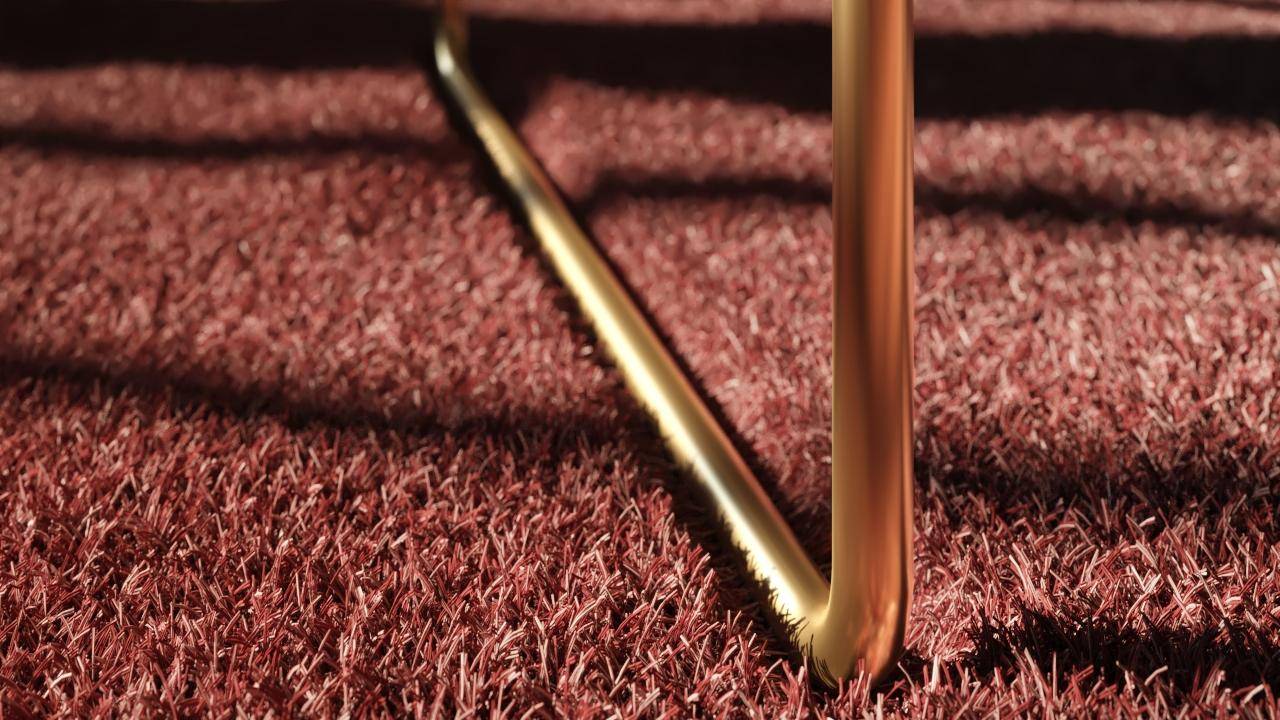
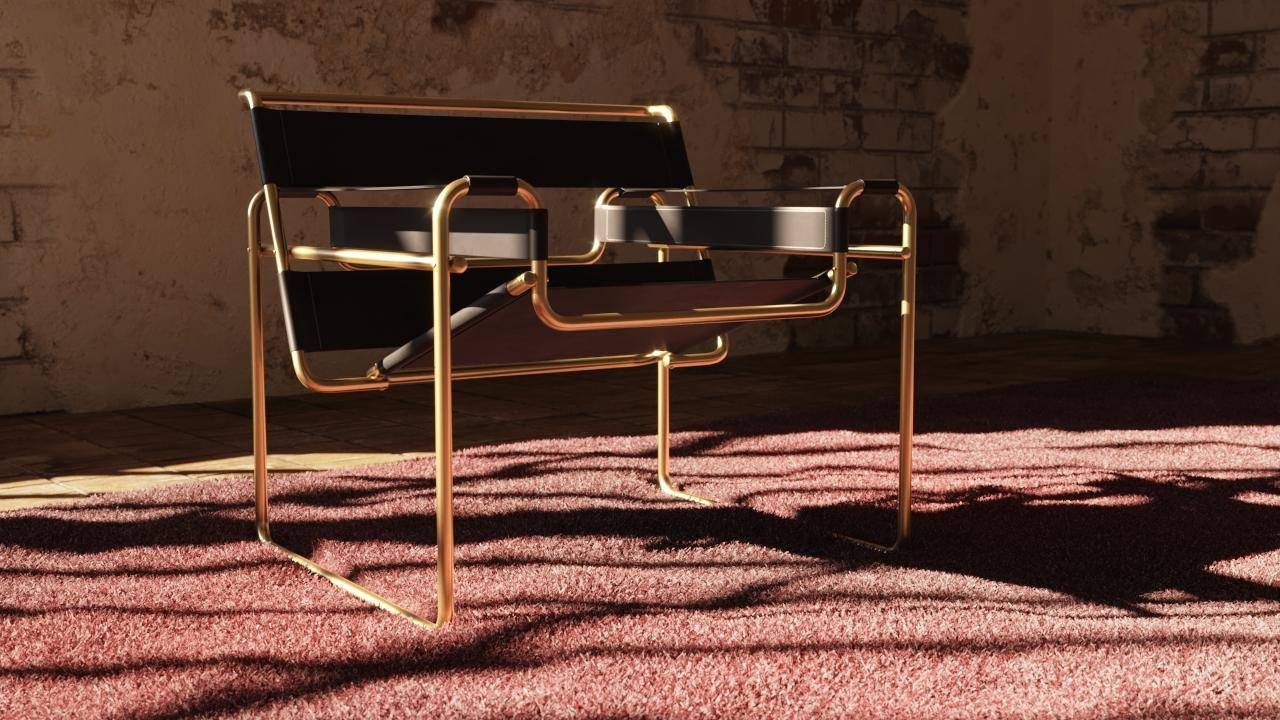
Much better, I hope you’ll agree. Even at mid distances, the effect is still apparent,
To create this effect, we need to add some spline where the chair sits on the rug. In this case, the legs are long and thin, so I’ll just create a spline object and draw one open path under each leg. You can use any shape of open or closed spline depending on the object you want to exclude.
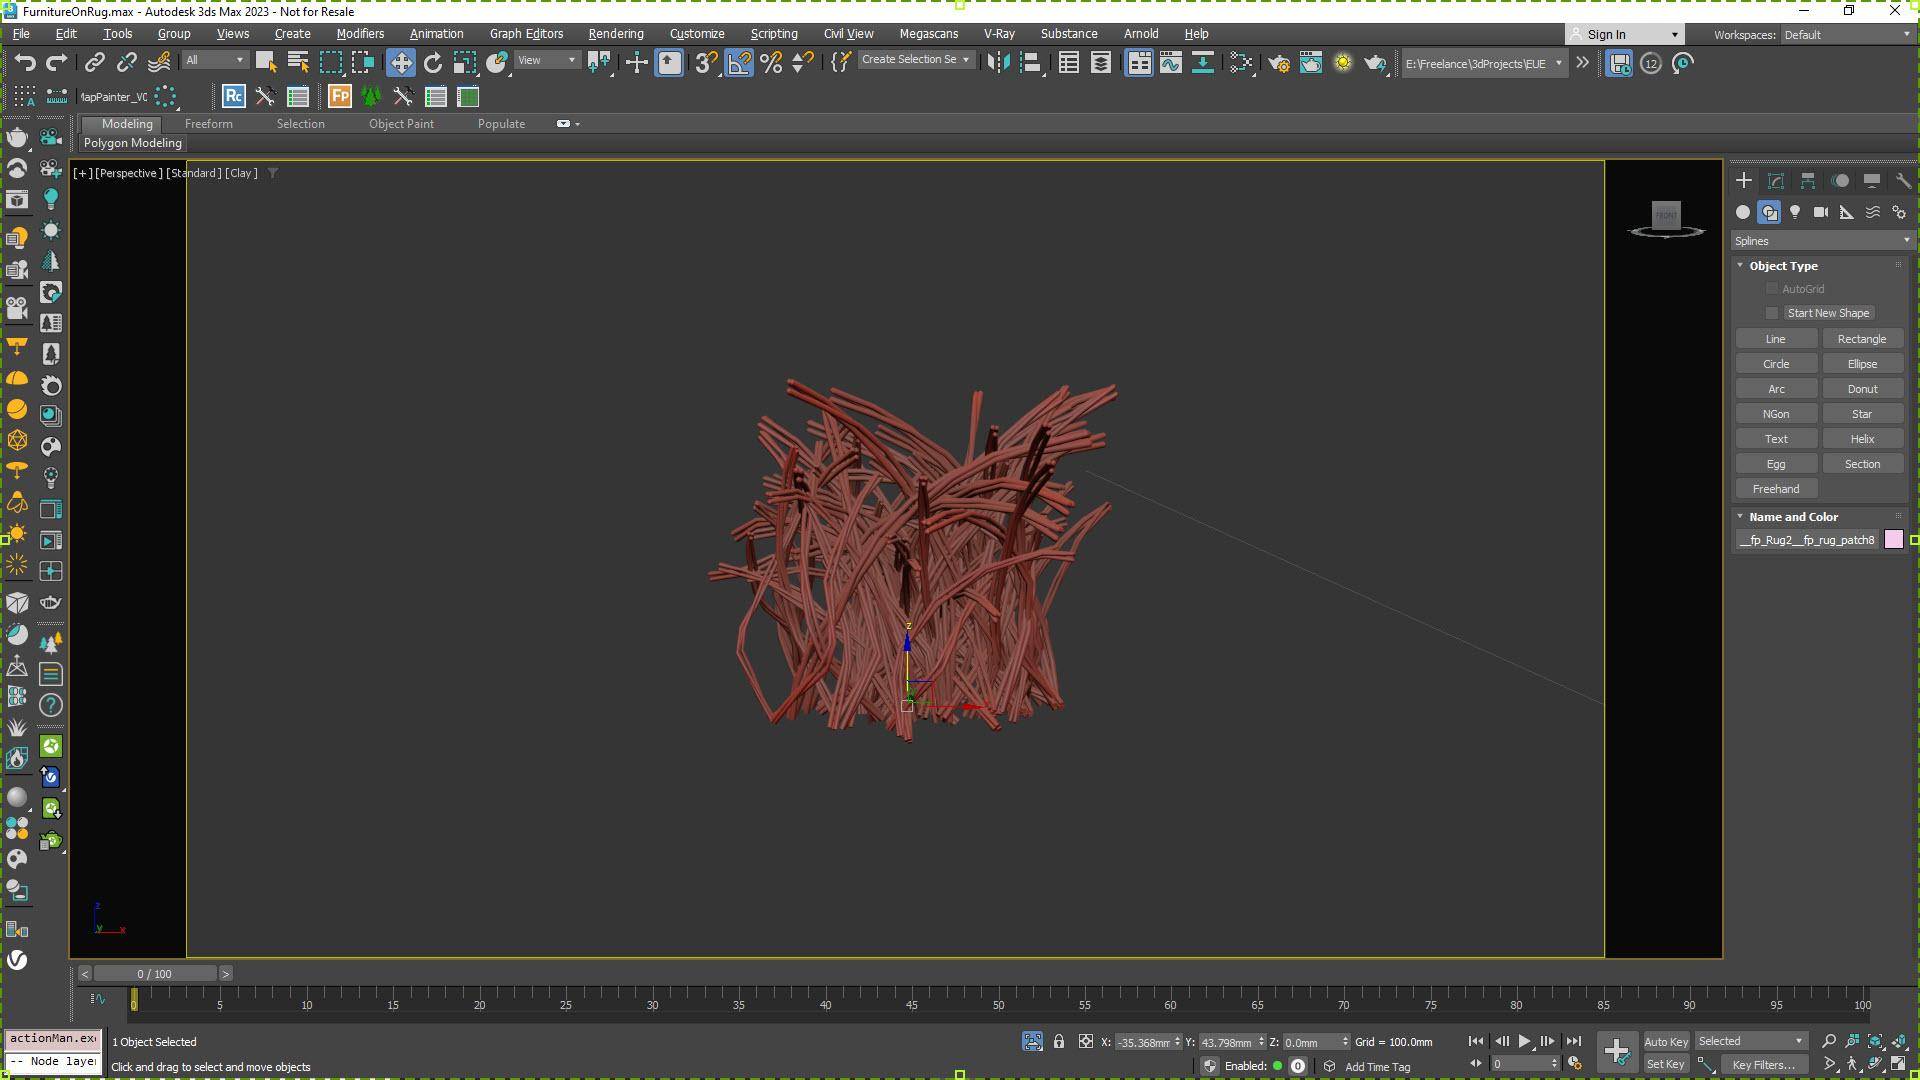
Next, we’ll open the Rug FP object. There’s nothing special about this object, the only thing to note is that this technique works best when the patches being scattered are quite small. In this scene, they’re made of a small number of strands like this.
Next, add the spline to the Areas list. Change the mode to Exclude. If you’re using open splines you might want to add a small value to the Thickness parameter.
Now we’ll use a Forest Effect to rotate the adjacent piles away from the chair, as though being pushed out sideways. Forest Effects are a really handy, if underused, feature that allows anyone to extend Forest Pack’s features using expressions. There are quite a few that ship with Forest Pack for free, including one specifically to solve this problem.
To access the built-in presets, click on the + button to add a new effect, and then click on the wand to open the Effects Browser.
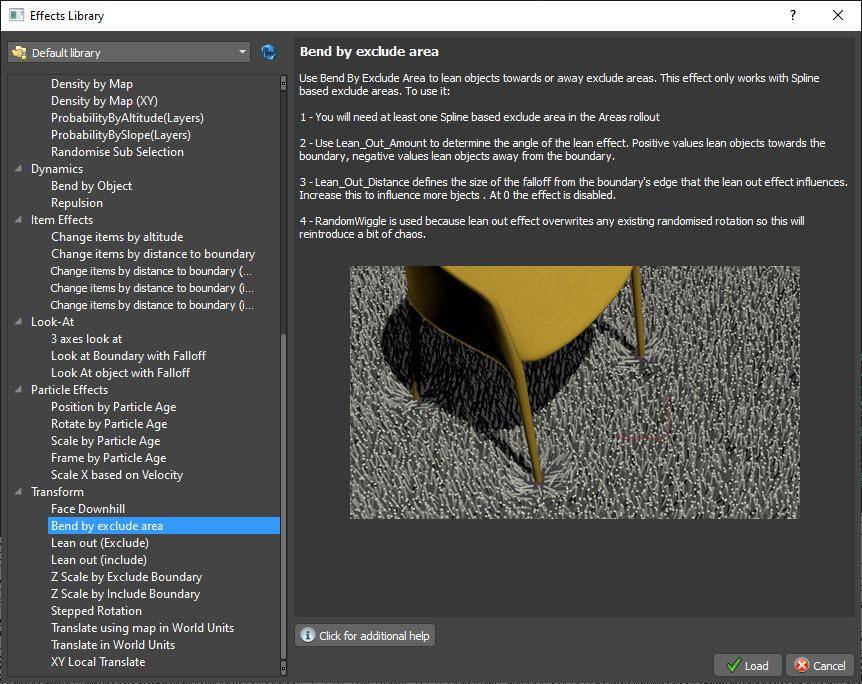
On the left you’ll see a list of all the included effects, divided into categories. Scroll to the bottom and you’ll find one in the Transform section called Bend by Exclude Area. Select it and click Load.
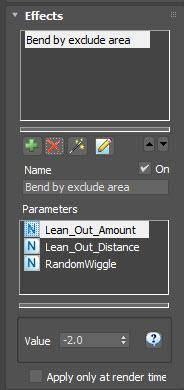
Several new options will appear in the Parameters rollout. The first of these, called Lean_Out_Amount, allows you to set the amount the fibres bend nearest to the chair. Negative values rotated the threads away, and positive values towards the object.
Below that, you have Lean_Out_Distance which sets the size of the falloff before the objects gradually return to their normal position.
Finally, below that, there’s RandomWiggle which can add a little randomisation to the objects within the falloff zone.
And that’s it, as you can see, it’s pretty easy to create this effect in Forest Pack. This is just one of the many effects included in Forest Pack and we’ll be releasing more tutorials covering some of the others soon, Stay tuned, and please feel free to let us know in the comments if there’s a new effect you’d like to see added!