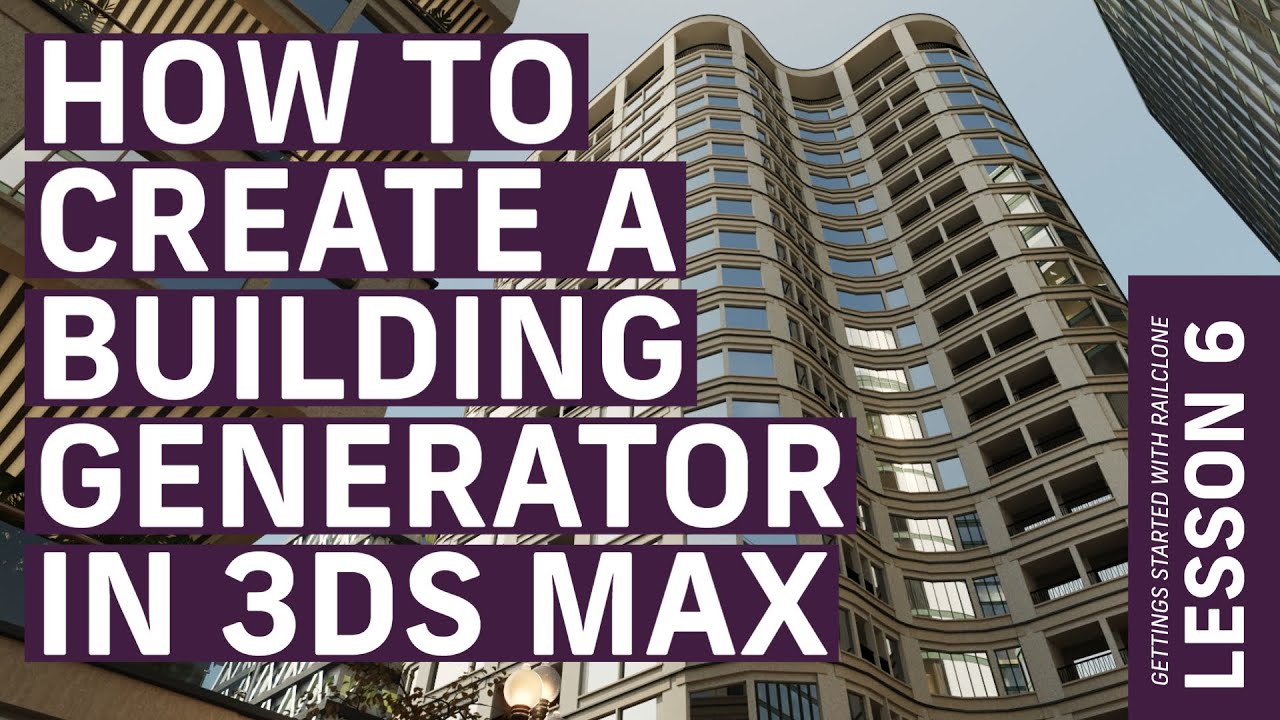
Video Transcript
In this instalment of our Getting Started With RailClone course, we're going to start with a comprehensive explanation of the A2S array and then use that knowledge to create a parametric building generator.
The A2S or 2D generator is essentially a stack of L1S generators. In fact, many of the same settings are availale in both Generators, including parameters for Evenly segments, Corners, Default modes, and more. Where there is repetition we won't go over that topic in detail in this tutorial.
Orienting Segments
The 2D generator is built on the X/Y axis so any segments should also be aligned to work on these axes. This means that when making buildings you need to lay your geometry down flat in a way that feels a little counter-intuitive.
Creating a 2D array and defining its size
- Create a new RailClone object and go to the Modify Panel.
- Open the Style Editor, and create a new A2S Generator.
- Add a Spline node. To define the X size of the array, we'll pick a path from the scene and wire it to the X Spline input.
- Do the same to define the size on the Y-axis.
The A2S Array's inputs
To illustrate the many inputs available in the A2S array we'll add some placeholder segments. To do this:
- Add a Segment, right-click and choose Clone Multiple. Pick all the items from the scene. This is a really quick way of loading multiple segments.
- Now we'll start to identify the parts of the array, starting from the bottom. Wire the appropriate segments to the Bottom Start, the Bottom End, and then fill in between, by wiring geometry to the Bottom input. As you will see, this basically a linear generator.
- Now lets target the top row. Wire approriate segmetns to the Start Top, the End Top, and then fill in between those two corners by wiring a segment to the Top input.
- Between the Top and the Bottom the default rows will repeat,. To target them use the Start input, the End input, and then to fill in the middle, use the Default input.
- We have a simple 2D array, but of course, there are many other inputs we can use to make this even more powerful.
- We are also able to target Corners which appear wherever you've put a vertex on the X spline. Like the 1D array there are several corner options, including the ability to Bevel the corner. There are also the same Default segment options, including, different distribution modes, like Adaptive, Scale, Count etc. As we mentioned, we're not going to go over these again in detail, since we've covered them in a previous tutorial
- There's also got the ability to place segments at regularly spaced intervals using the X Evenly input. Once again, the A2S array shares the same settings as the L1S array, but unique to the 2d array is the ability to adde evenly spaced segments on the Y- axis.
- The Evenly settings are the same as the linear generator, with one exception. In the A2S generator you have one additional setting called. Extend to Side. When this is enabled, the row or the column will continue through to the sides of the array. In the A2S generator, the Corner input also has this option.
- There are also a couple of inputs in RailClone that let you place geometry by applying Markers directly to the base spline. To use them, wire segment to the X Marker and Y Marker inputs.
- Next, select the base spline in the scene and add an RC spline modifier. Using this, you can click the + button to add Markers that create new rows or columns of geometry.
- These markers have their own settings but there aren't options for Extend to Side. That's because the X and Y markers inherit this behaviour from the Evenly inputs. For example, if the Y Evenly input extends to the side, then so does the Y Marker.
Other Settings
In the Generator's General tab there are several useful settings. In this sections will take a quick look at them.
- First of all, let's take a look at how to make this building vertical. At the moment we're using a Spline for the Y axis so it'd be a simple case of modifying the spline.
- Alternatively, if you don't want to use a spline for the Y Axis, you can disconnect it and set a height value using the Y Size property. In this mode, to make you building vertical, you'd use the X Rotation property with a value of 90 degrees.
- Another useful setting is Y-Mode.To illustrate what it does, set the X Rotation back to 0 and add a curve to the X Spline.
- Change Y Mode to Free and you'll notice that each row is calculated independently and columns don't remain aligned, whereas in Aligned mode, each row is calculated in relation to the length of the bottom row and the columns always line up.
Clipping
At the bottom of the general tab you'll find the Clipping options. To demonstrate, create a new rectangle spline that overlaps your RailClone model and then experiment with the following settings:
- Add a new spline node, pick the rectangle from the scene and wire it to the Clipping Area input. The array is now sliced so it retains only what is inside the rectangle. You can invert that by changing the mode to Exclude.
- You can also change the projection. At the moment we're projecting on the Z, but you could also choose X or Y.
- The No Slice option determines how to handle segment that have Slice disabled. You can either Preserve them, Remove them, or you can force slicing irrespective of their individual settings. There's also a Free option, which turns off clipping completely for no-slice segments.
- Extend X/ Y size to Area uses the size of the clipping spline to set the size of the array.
- Z Rotation rotates the array within the spline also sets its size to make sure it still fits with the new orientation.
- Expand enlarges the size of the array and then clips it. This can be useful if you find you've got gaps created by a pattern at the edges of your clipping.
Creating a Building Generator
Now that we understand how the A2S generator works, let's apply the theory to a real style and create a building generator. We'll start with several building pieces, but remember we have to lay them down flat on the X/Y Acis and and then reset the X Forms.
Now we're ready to start building the style:
- Create a new RailClone object, open the Style Editor and create a 2D Array.
- Add a Spline node, and wire it to the X Spline input
- Pick a base spline from the scene.
- Use the Y size parameter to set the building's height
- Rotate the array by 90 degrees,
- Import the segments wire the bottom floor start to the Start Bottom input and the End Bottom input.
- Change Segment>Alignment> Z Axis to Pivot so that everything snaps together correctly.
- Wire the ground floor segments via a Randomize Operator into the Bottom input. Change the Default Mode to Adaptive so that only whole segments are used with no slicing. That's the ground floor done.
- Wire the segment for the top ends to the Start Top and the End Top. Take the top segment and wire it to the Top input. We now have a top and bottom. Now we can fill in between.
- Wire the sides of the facade to the Start and End inputs.
- Add a Sequence operator and wire in all of the Default segments
- Wire the Start segment to the X Evenly input to create pillars. You'll notice that there's a bit of a problem because the pillars at the top and the bottom floors are too short. There's no input in the A2s node to target the top and the bottom of Evenly or Corners, but what you can do instead is use a macro called Segment Y Role. This macro it breaks out several additional inputs for these columns. You'll now have inputs for the middle of columns, which I'll put the original segment in, but also inputs to target the Top and Bottom of the Evenly and Corners .
- Change the spline to one that has corners, then you can wire the existing macro to the Corner input.
- We've now got pretty much a whole building completed. One last thing though. At the moment, the pattern of facade elements on this building is incrementing on the X axis. But when you use a 2D generator, you also have the option of creating patterns on the Y-axis by changing the Sequence node's Increment On option..
With a building like this set up, it's very easy to adapt it to any scene. In our tutorial scene we'll pick a Spline next to the hero building.
If your camera remains below the roof of the building, then this style is perfectly fine. But as soon as you move the camera up above the building height, you'll notice that there's no roof. In the next little tip, I'm going to show you how to cap the top of this building.
- Export the Y size of the generator and add a new Numeric node. Set the Mode to Scene Units and wire it to the Y Size input.You can then control the height of this building by going to the Parameters rollout and changing the height.
- Create some geometry for the roof. In this case, I'm going to keep it simple and use a plane.
- Add a new 2D generator. Use the same X Spline but instead of wiring it to the X Spline Input, wire it to the Clipping Area input.
- Import the roof geometry. Wire it to the Default input.
- Turn on Extend, Y Size to Area so that the roof geometry fills the clipping spline. You'll see it's on the ground, not on top of the roof and that's why we exported the height of the building because now we can right click and choose Export Parameters, go to Geometry> Z offset and then wire the Z Offset input to the building height.
- If necessary, you can do some fine adjustment by going to the Segment itself and adjusting its Fixed Z Translation property.
- That caps the building!
We now have a complete building generator that we can use to populate the rest of the scene. If you want some variety, why not try and build a new generator with your own geometry to create a version of the scene that's uniquely yours.