Resources
Requirements
- info RailClone Pro or Lite

This week’s Macro Monday tutorial is about another question we’ve been asked recently: “How do you create a hexagonal pattern using RailClone?”. In that past, our answer would have involved teaching you how to adjust a segment’s padding values manually, but recent versions of RailClone include a macro that does all the heavy lifting for you. Here’s how you’d use it to create a hexagonal tiling style for a wall or floor (This tutorial can be completed with the free Lite version of RailClone).
- First of all, you’ll need a hexagonal source object. In this case it’s a simple tile, but it can be as complex as you need.
![RailClone Source Segments]()
- Create a closed spline for the area you’d like to fill with hexagons.
- Create a new RailClone object, go to the modify panel and open the Style Editor.
- Create a new A2S Generator. Go to it’s properties and enable Extend X/Y Size to Area. With this mode enabled, RailClone will automatically fill a closed clipping spline with geometry.
- While you’re here, select Auto Align > X —> XY. This mode will orientate the array automatically to match the clipping spline. In that way we can easily apply this style to a vertical spline.
![RailClone extend X/Y Size to Area]()
- Create a Spline node, pick a closed spline from the scene, and then wire it to the Generator’s Clipping Spline input.
- Next create a Segment node and use it to pick your hexagonal geometry from the scene. Wire the node to the Default input. As you can see, the geometry is not jigsawing together correctly.
- To fix this, go to the Macros rollout and find the Macro called Hexagonal Padding. Wire it between the Segment and the Generator. That’s all there is to it. The Macro takes care of all the setting you need to get the tiles to interlock.
![RailClone Hexagon final graph]()
- One final setting you might need is the Generator’s Expand property. This setting slightly enlarges the array to remove gaps left by irregular segments around the perimeter of the clipping area.
![RailClone - Expand Property]()


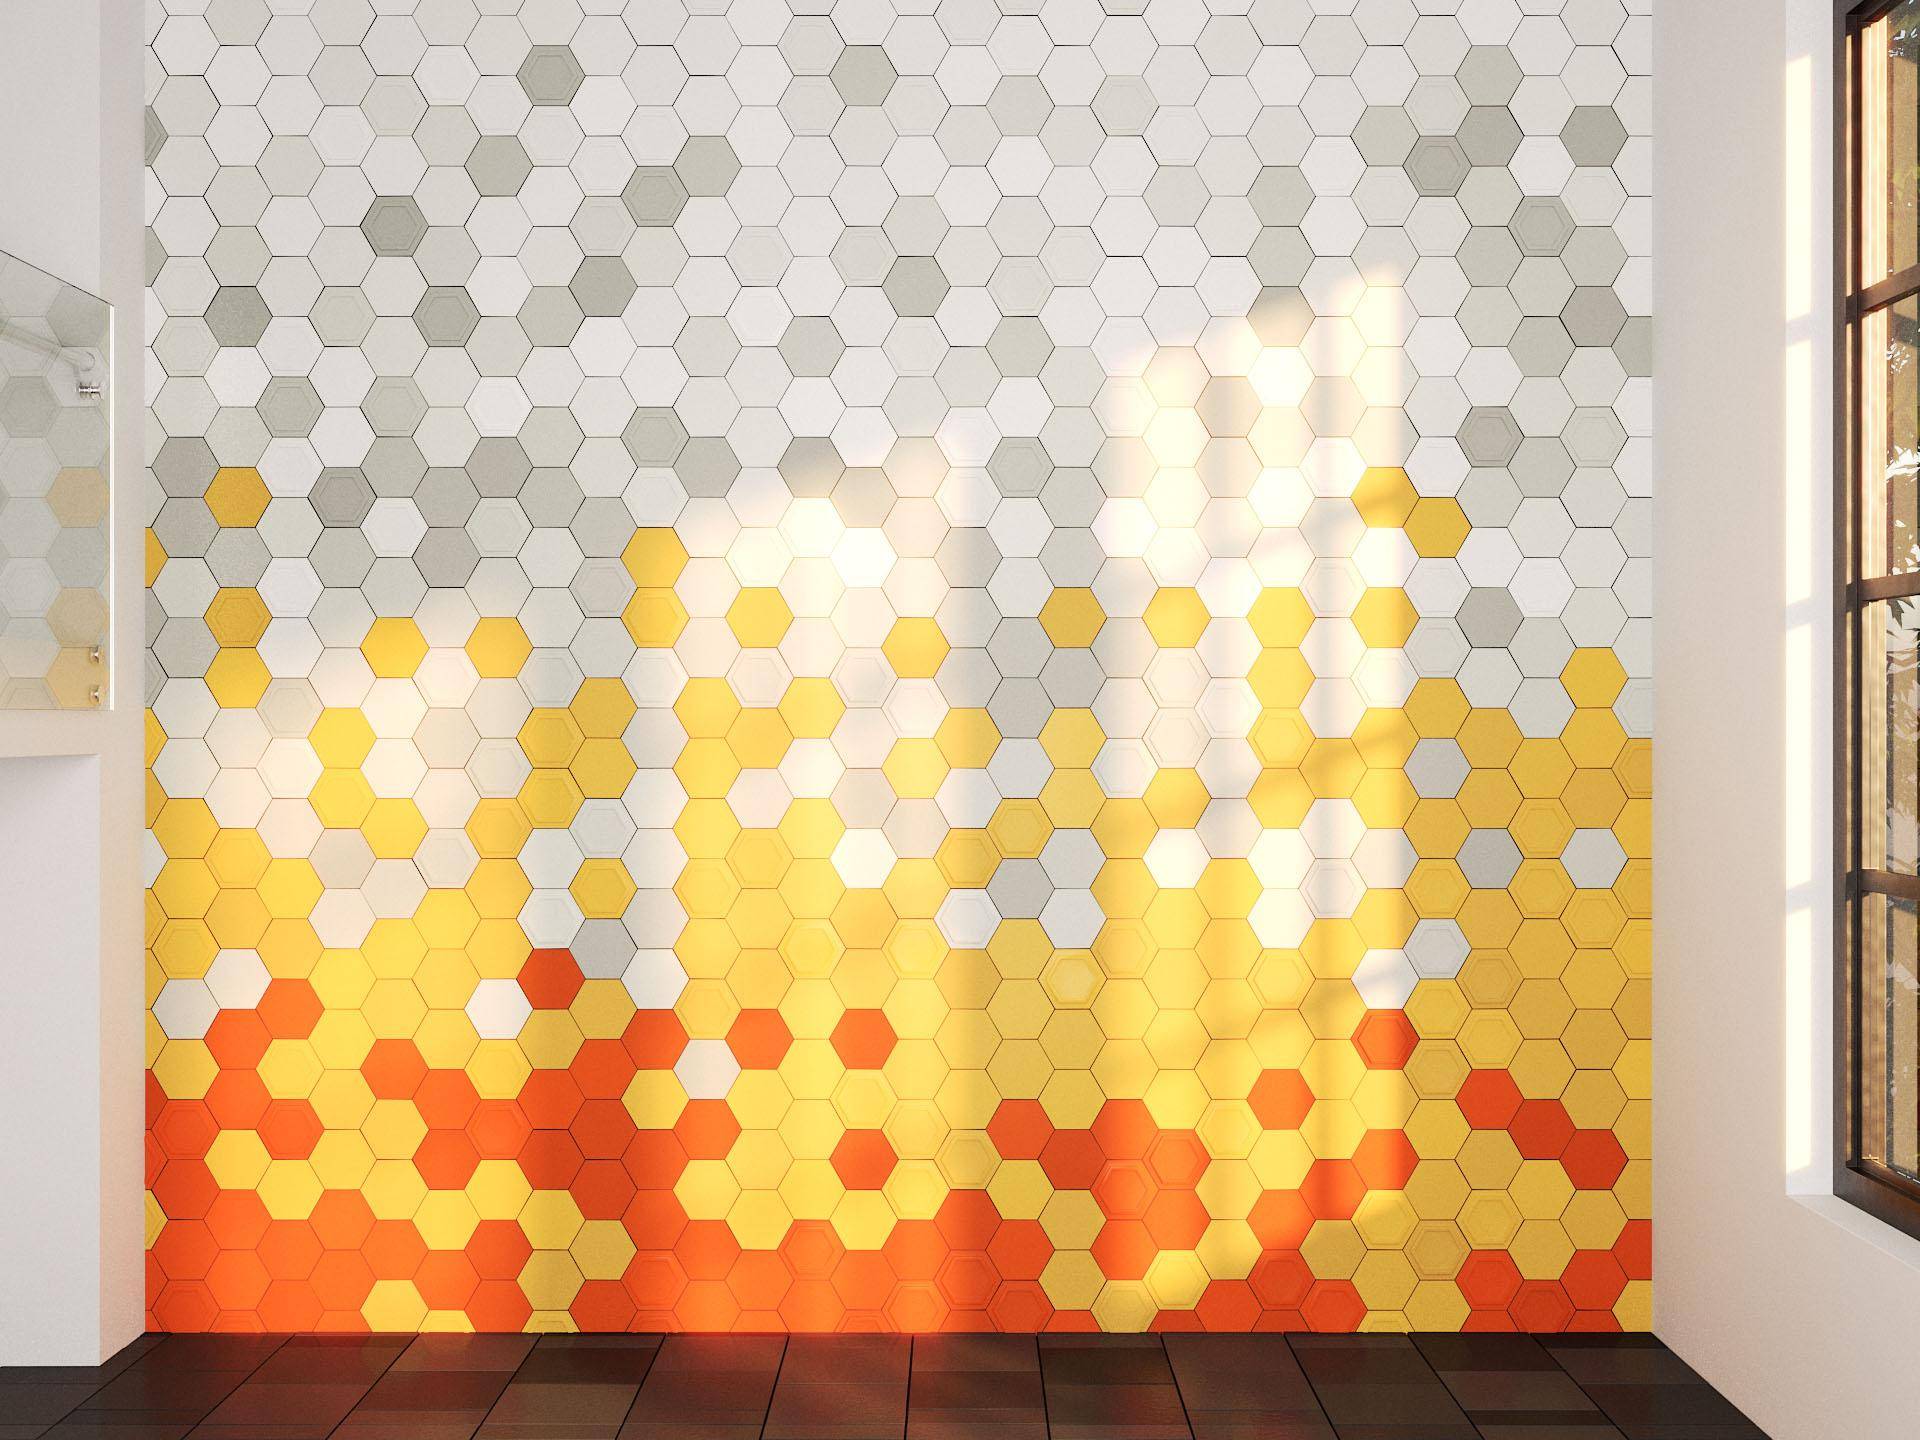
That’s really all there is to it. In the demo image, I also added some Gradient Probability macros to get the colour change effect, and if you’d like to learn more about this macro, we have a separate dedicated quick-tip tutorial, or you can check out the exercise files.
Remember if you’ve got a question you’d like to see explained in a short tutorial, just let us know on the forum or the comments below this video. Thanks, and stay tuned for more coming soon!