Requirements
- info Forest Pack 7
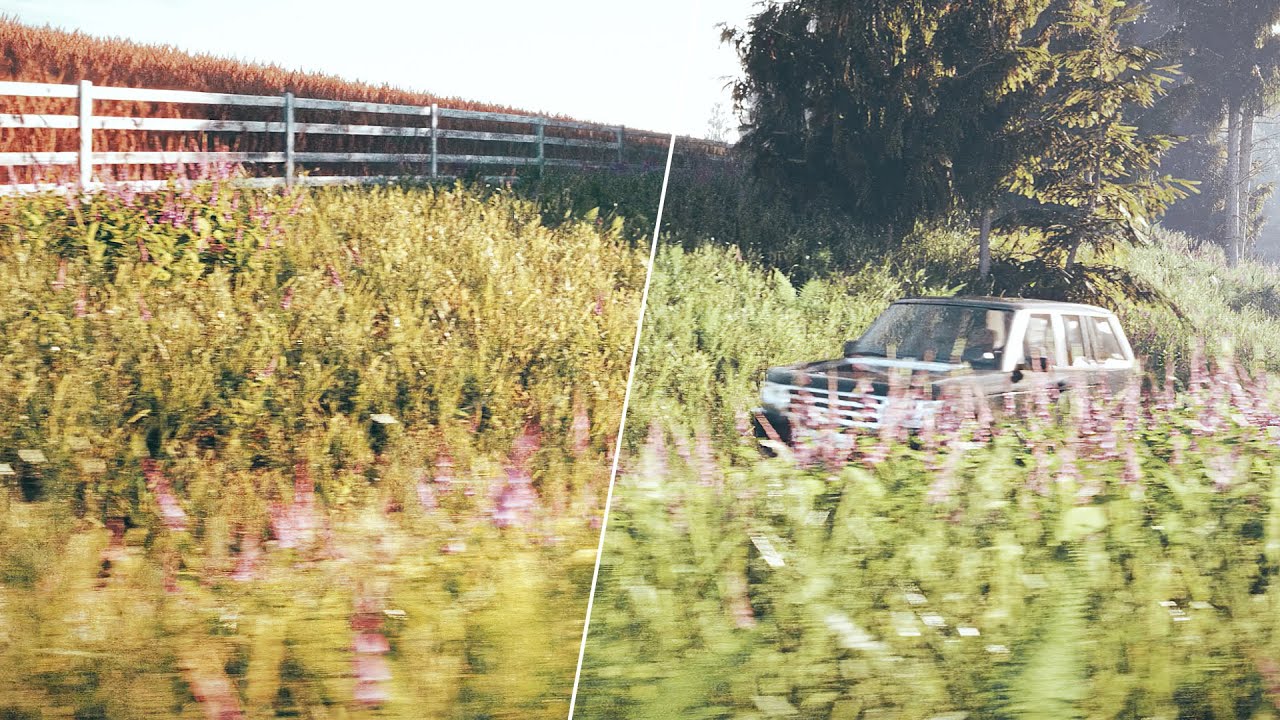
We all use assets from various sources, whether that’s commercial libraries, the built-in presets, or our own high-quality The3DGarden collections. The trouble with mixing items from multiple sources is that the colours may not work well together and editing the sometimes complex materials can be a real chore!
To resolve this, Forest Pack 7 added a set of colour correction tools to the Materials rollout that allows you to adjust every object in a scatter from one easy to use interface.
The Material Rollout
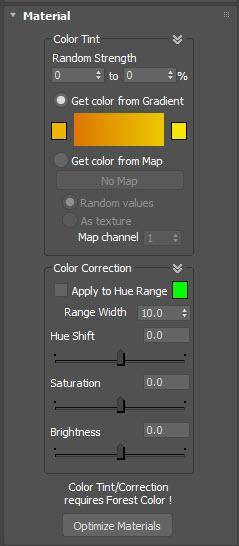
There are individual settings that allow you to modify the hue, saturation and brightness. You can preview these settings in an IPR render so that you can easily make adjustments by eye.
But what if you want to only adjust a part of the scatter, say to colour correct the leaves on this tree without affecting the trunk and branches? For that, you can isolate which colours to correct based on a Hue Range. Simply set a colour and then a deviation on either side of that colour using the Range Width parameter. This makes it an incredibly fast and flexible way to make mass changes.
Forest Colour
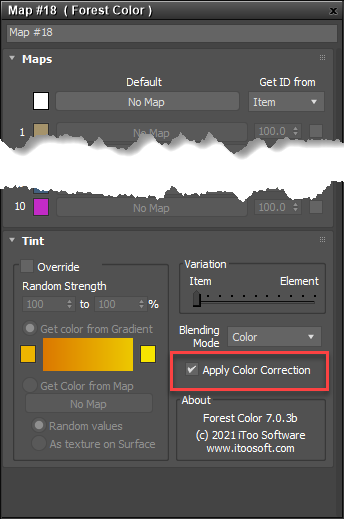
It's important to know that the Colour Correction tools require Forest Colour to be used for the diffuse (and optionally translucency) input of the material. If your assets don’t already have these maps applied, don’t worry! There’s no need to add them manually, just click the Optimise Materials button and make sure that the Apply Forest Colour option has been checked. That’s it, You’re good to go.
And finally, if after making colour corrections, and limiting by Hue, you still need to limit the colour correct effect for certain parts of a mesh, then you can still go into the material and simply disable the Apply Color Correction option for the maps you don’t want to be affected.