Forest Pack 7 includes some changes to Forest Tools plus a new experimental plugin for Unity that allows you to export scattered items to the popular engine for use in games and other real-time products. The basic procedure for sending a scatter to a unity project involves 3 steps
- Export Scatters using Forest Tools. This will create a .forest file that contains the distribution information and .fbx files that contain the source geometry.
- Install our Importer package in Unity
- Import the .forest and .fbx files to Unity
1 - Export from 3ds Max
First up let’s look at how to use Forest Tools to export a scatter from 3DS Max.
- Select one or more Forest Objects that you want to export.
- Next. open Forest Tools from the Utilities panel. You can also access this by clicking the
button on the Forest toolbar.
- Scroll down to near the bottom and click on Forest Exporter > Open
![]()
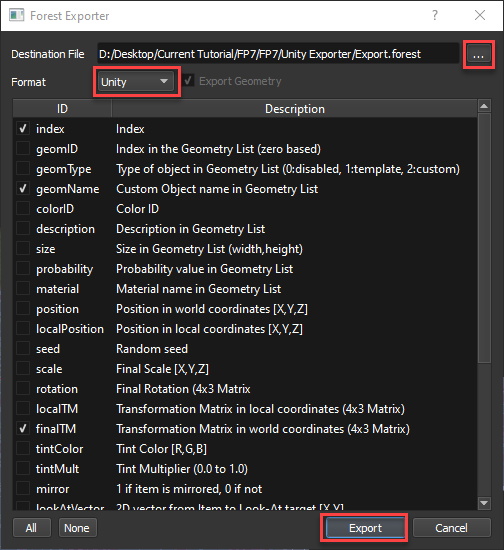
- The exporter will open. There’s now a new Format dropdown. Click this and select Unity.
![]()
- Click the elipsis button (...) to choose a save location. You can choose a Unity Asset folder if you like and the scatter will automatically import into the project.
- Finally, click Export. In a few seconds a .forest and .fbx file will be created.
 button on the Forest toolbar.
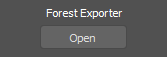
2 - Install Importer Packages in Unity
To import the assets exported in Step 1, you will need to install the plugin packages to your Unity project. These will soon be available on the Unity Asset store, but they’re also available from our website. Just drag the package to Unity's asset browser and follow the instructions to import.
3 - Import the .forest and .fbx files to Unity
You’re now ready to import the Forest Objects to Unity. To do this:
- Drag and drop the .forest files along the .fbx files generated by the Forest Tools exporter to the Unity Content Browser, Alternatively you can right-click and select "Import New Assets"
- This will create two new objects. A prefab from the FBX that contains the source geometry And Forest Pack object, which you can identify using the Forest Logo
- Drag this one into your scene
- Then set the Transform values to 0 so that it matches the original position in the Max scene File.
That’s pretty much it! If you need to edit the materials, you may need to extract them from the Prefab.
- You can do this by selecting the Prefab, going to the inspector, and clicking the Materials tab.
- Click Extract Materials and choose the folder you wish to save them to.
- Once this is done the materials become editable in the usual way.
Alternatively, you can simply swap the materials for new ones by dragging them to the relevant slot in the Remapped Materials section.
This plugin is still under development so expect updates. In the meantime, feedback is of course welcomed, so please feel free to contact us on our forum.