Requirements
- info Forest Pack 8
In this tutorial we’ll look at the new Autumn Leaf presets from the Forest Pack 8 library.
To get started using the presets, go to the Forest Pack create menu and click the Select button to open the library browser.
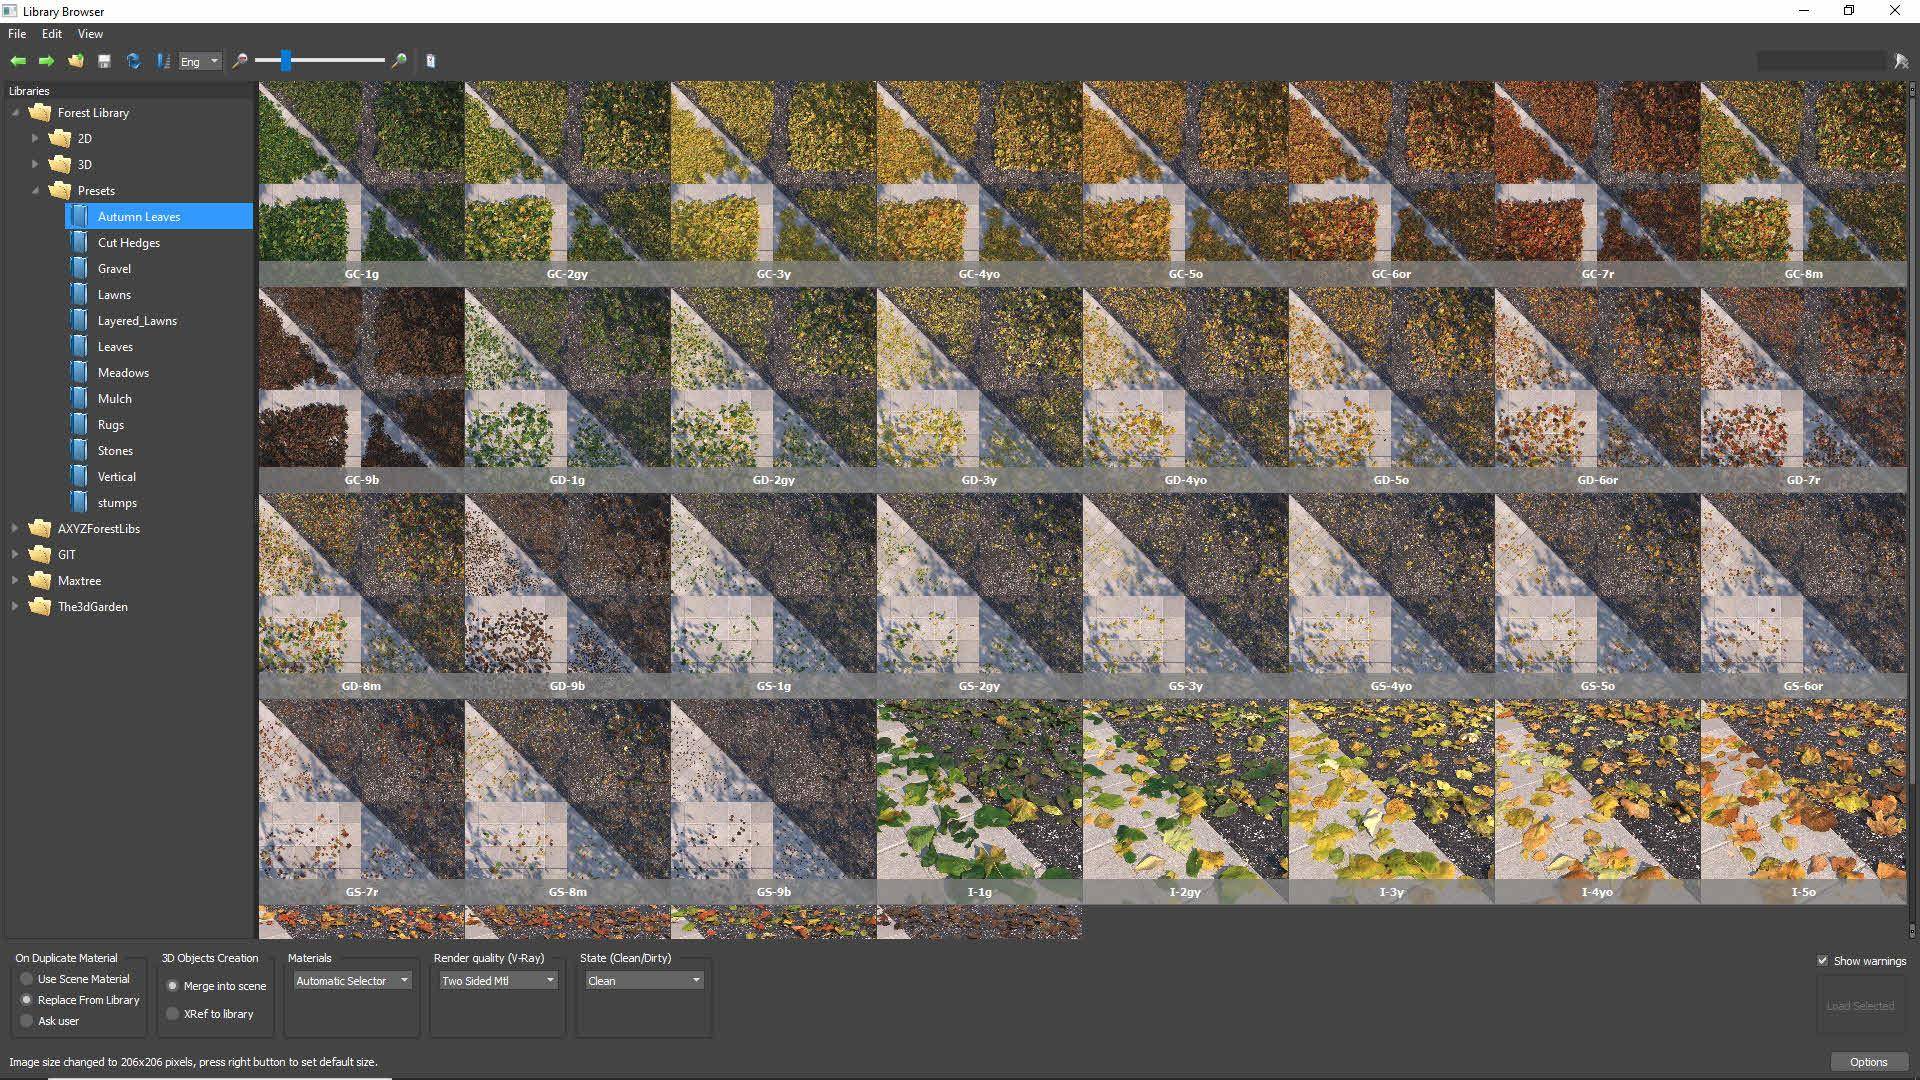
The Autumn Leaves library includes two sizes of preset, grouped and individual. The grouped presets are designed for filling big landscapes because the leaves are created as patches to minimise the number of items that need to be scattered. These come in different colours and densities, ranging from green to brown and densely packed to sparse.
To use one, select the preset and then click a surface or spline to apply it. After it’s loaded you will see a proxy preview.
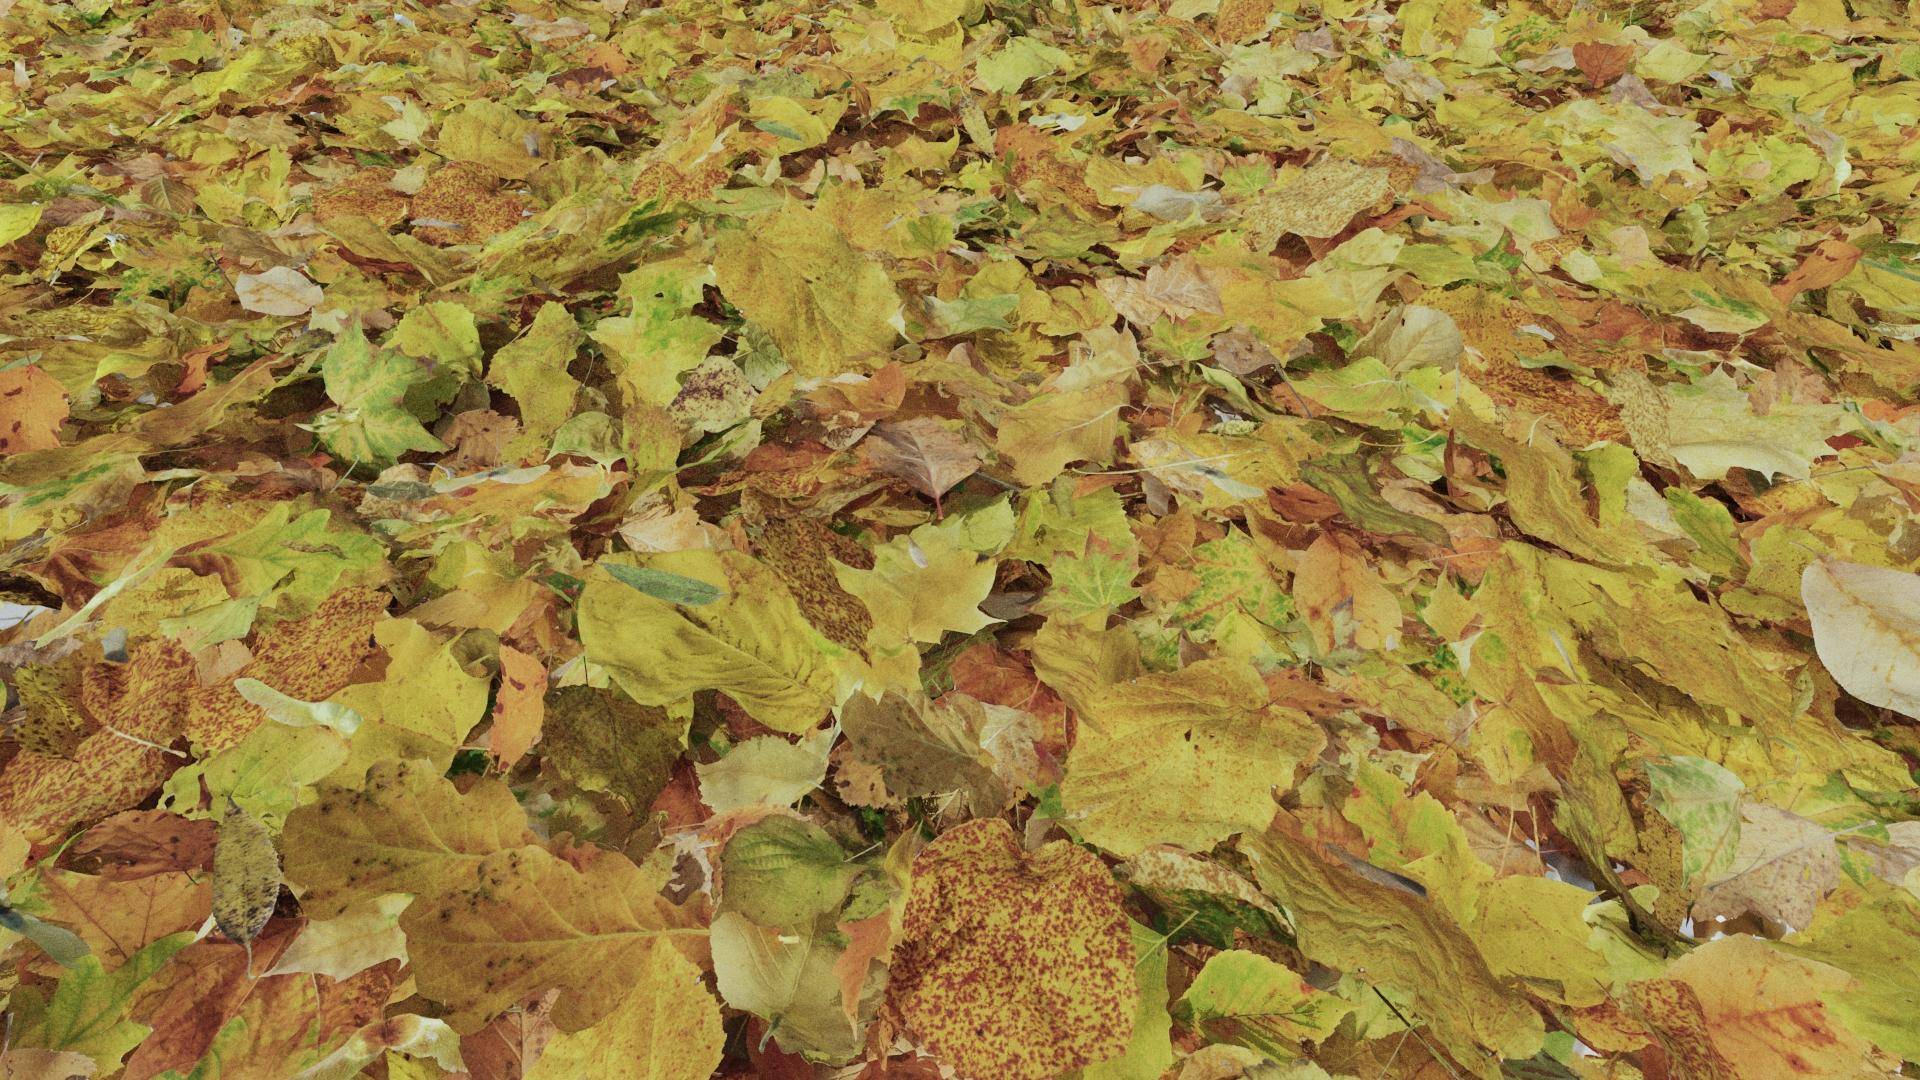
The second preset type is made using individual leaves. These are much better for close-ups or when you need more refined distribution patterns.
For both types of presets, there are a couple of other options in this library that you might find handy.
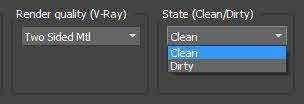
First of all, there’s Render Quality that allows V-Ray users to pick between one or two-sided materials. Next to that, there's an option to load a clean or dirty version of the leaves. This changes the maps used so that you can make the leaves look freshly fallen and undisturbed, or more like something that’s been kicking around a while and has got a bit grubby!

We hope you find this library and those additional tips useful. Stay tuned for more Forest Pack 8 tutorials coming soon.