Requirements
- info Forest Pack 7

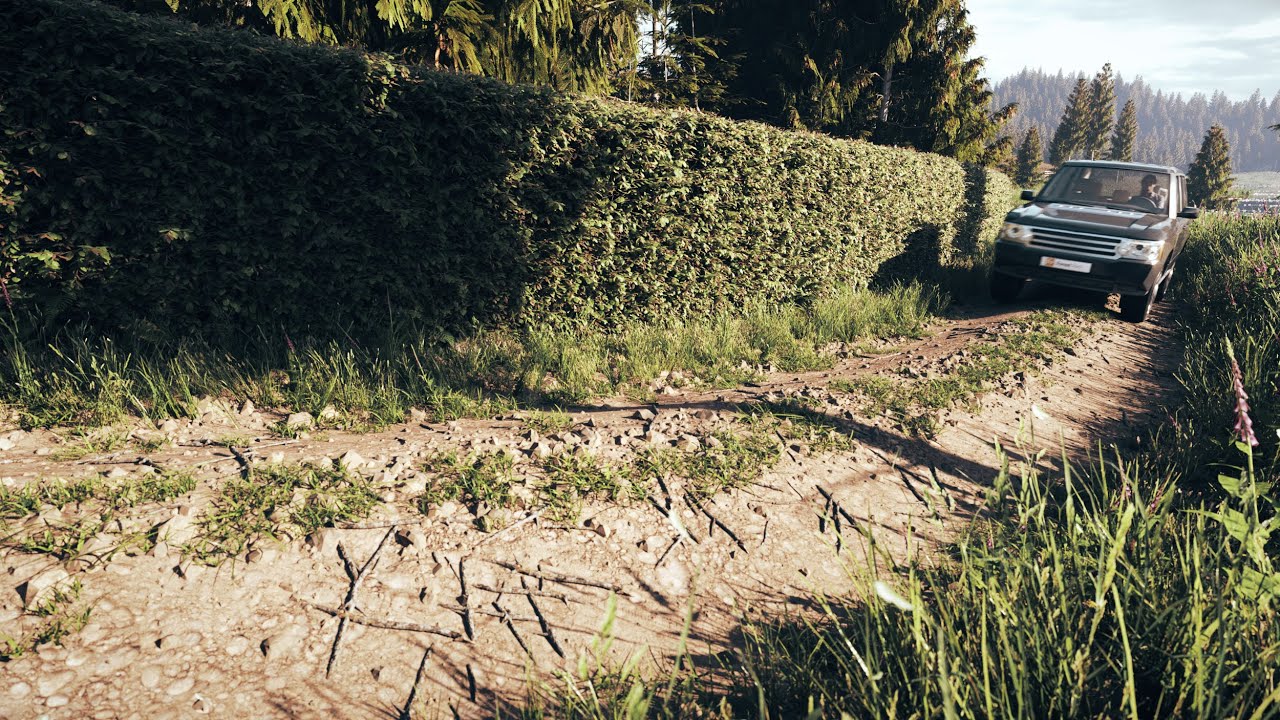
Forest Pack 7 includes a complete library of 89 cut hedge presets. In total 10 species are included in five heights ranging from 0.5m to 2.5m that are easy to layout using splines. In this tutorial, we explain how to use them..
- First you need a path to define the shape of your hedge. Please note that Forest Pack will not deform geometry, so you’ll need to avoid tight corners where possible. Gentle bends should work fine.
- Next select Forest Pack from the Create Panel.
- open the Library Browser and select a preset that matches the species and height that your project requires.
- Click Load Selected.
- Change Creation Mode to Icon and draw a FP icon in the scene.
- Switch to the Modify Panel and open the Distribution rollout.
- You'll see a paths list. Any spline added here will generate a hedge. Click on the plus button and pick a spline to add it to the list and that’s it, your hedge has been created.
For more irregular forms, each species has a Topiary Preset that can be scattered on a surface to create any shape of hedge. Several mixed topiary presets are also included for some great looking multi-species hedges.
- To use these you will need a surface to define the shape.
- You don’t want the shape to render, so right-click on it and select Object Properties.
- Turn off Rendering Control > Renderable.
- The topiary presets are designed to work with real-world map coordinates, so either enable this is you are using a primitive, or add a UVW Map modifier and enable Use Real World Coordinates.
- Now you can go to the create Panel and click on Forest Pack.
- Open the Library Browser and select a topiary preset. Click Load Selected.
- Make sure Forest Pack is in Generate mode, then click on the surface.
- That’s it, your hedge is created. If you want to add more objects to generate a hedge, go to the Surfaces rollout, click the + button and then pick the extra surface.