Requirements
- info Forest Pack Pro, V-Ray
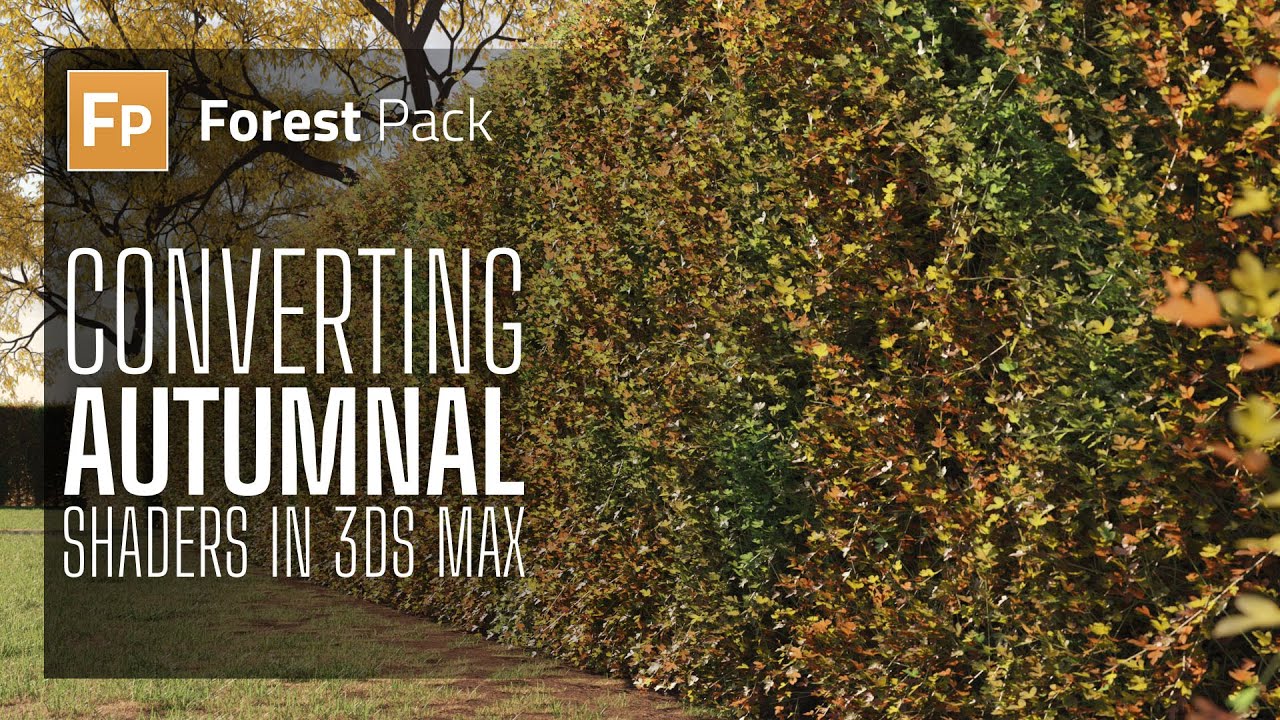
In a previous livestream, one of our viewers raised an interesting question about how to convert the hedge presets to an autumn look. We didn’t have time to get into it then, but today we're dedicating this tutorial to addressing this topic.
The transformation involves a simple editing of the materials. Let’s break it down:
Loading Hedge Presets
First things first, to load the hedge presets in Forest Pack:
- Click on the icon to create a Forest Pack object.
- Open the Library Browser and locate the Hedge library, included with Forest Pack.
- Choose a hedge that's the right height and species for your scene. For this tutorial, I'll be using the 2 meter high maple
- Draw a Forest Icon in your scene.
- Proceed to the Modify panel, find the Distribution rollout, and add the path to the list.
- Render the scene to visualize how it looks. While it will look nice, it won’t yet have that autumnal feel.
Converting the Leaves to Brown
To give the leaves that autumn-like brown colour:
- Open the material editor and copy the material. This can be done by selecting the objects from Forest Pack's Geometry list and dragging the material from the slot into the material editor as an instance.
- Locate the leaf shader in the multi-sub object material.
- Recolour the leaves to brown with a Colour Correction node. Wire the green leaf texture to the input, and the colour correction node to the Diffuse input.
- Tweak the hue and saturation until the leaf is a ready brown colour.
- Render the scene. You won’t see a lot of difference.
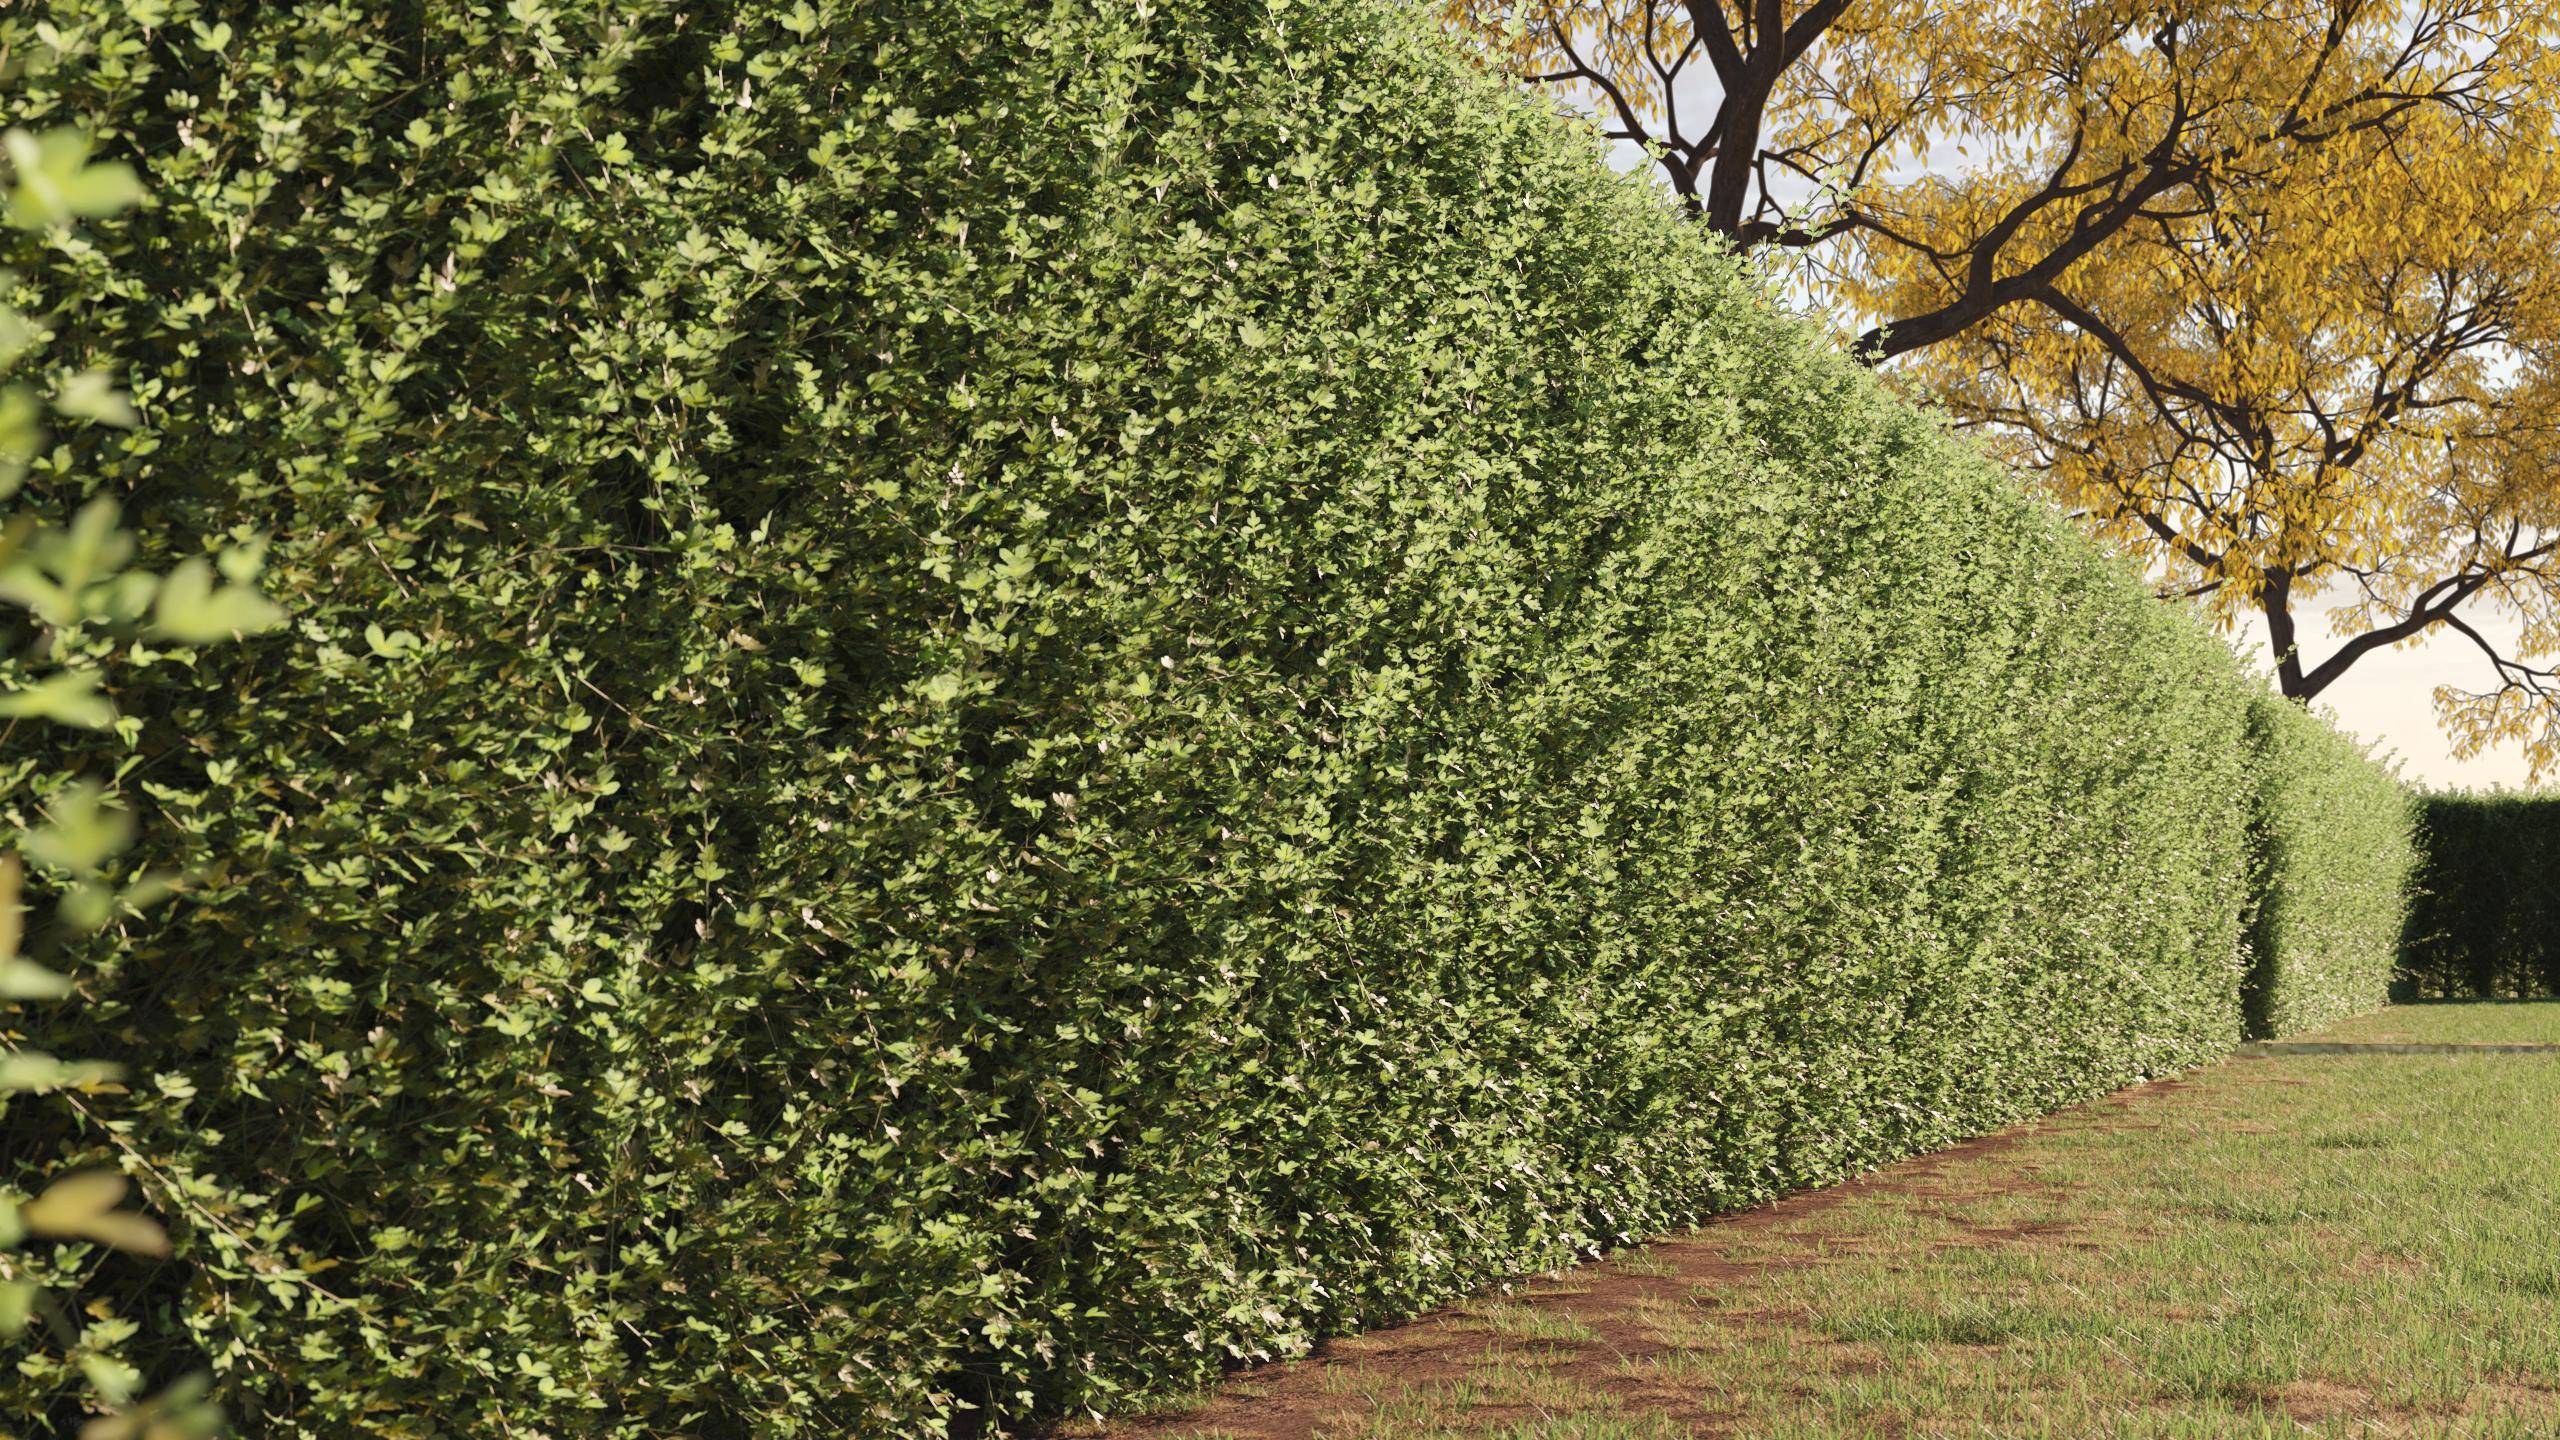
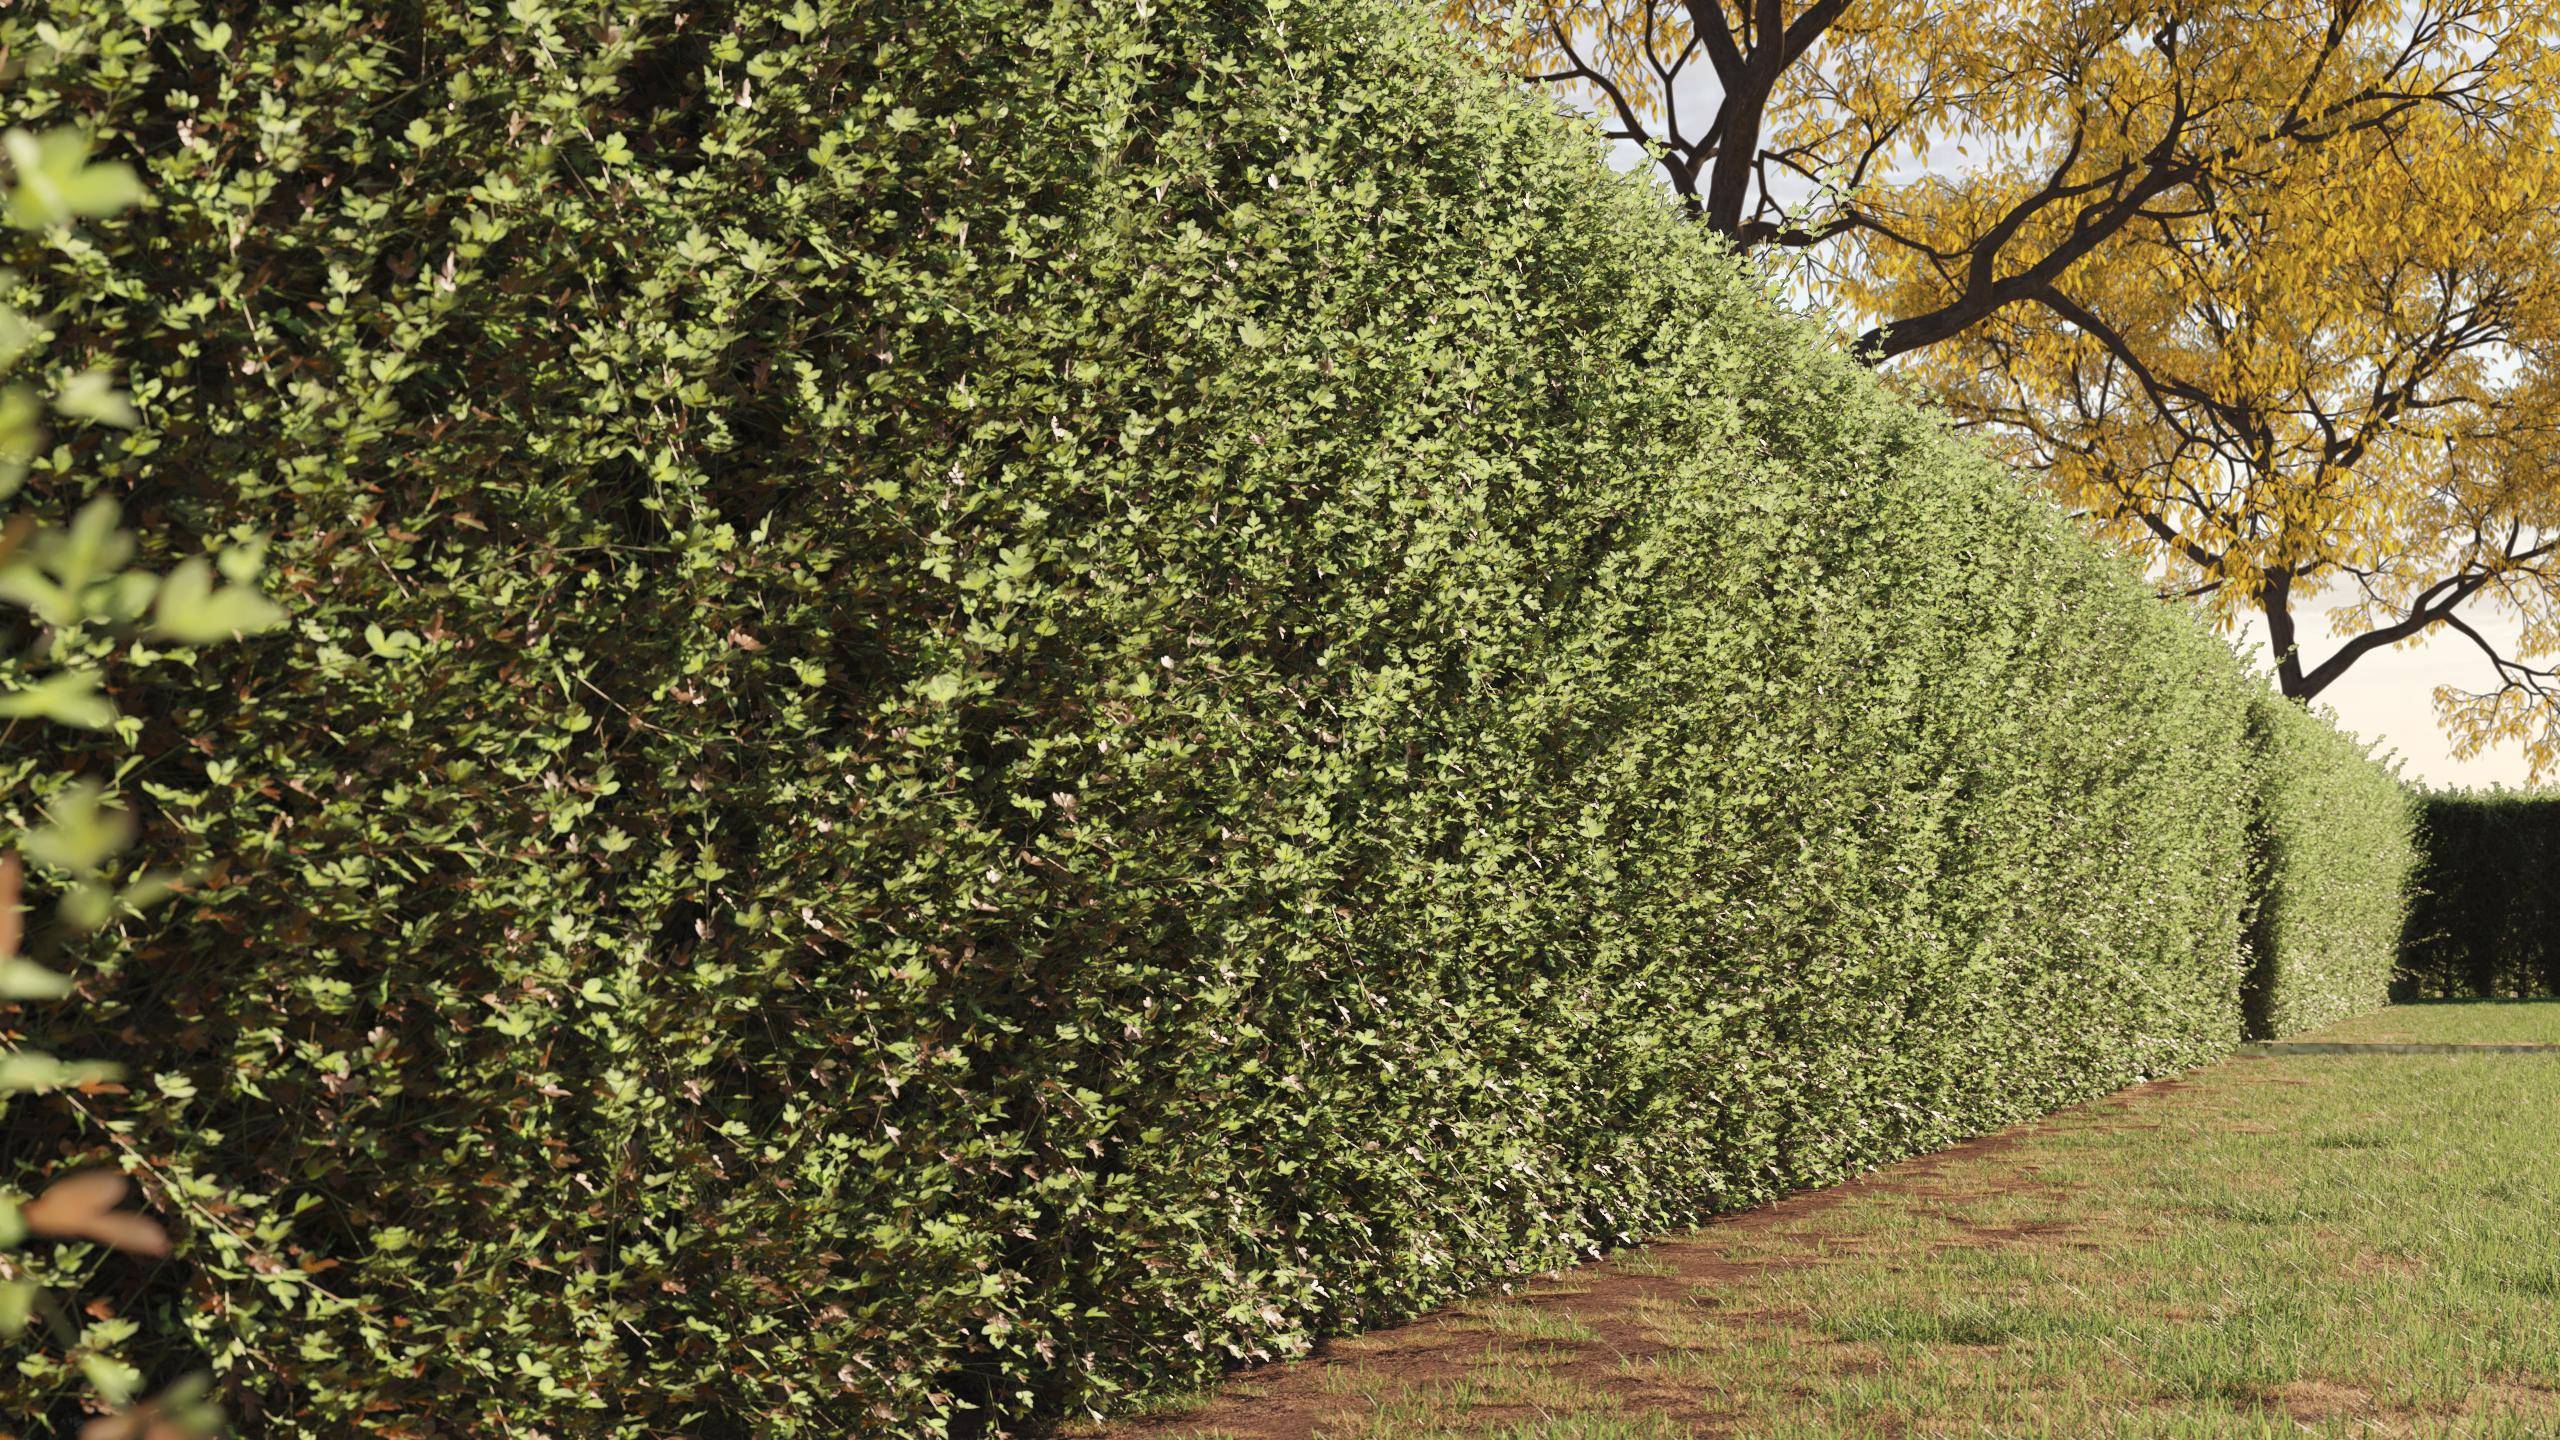
- That’s because the material also uses a Translucency map which is overriding the diffuse colour. To correct this, wire another Colour Correct node after the existing one, then wire it to the Translucency input.
- Slightly lighten the map and increase the saturation as desired.
- Render again. At this point, it’ll definitely be brown, although it will lack a bit of variety.

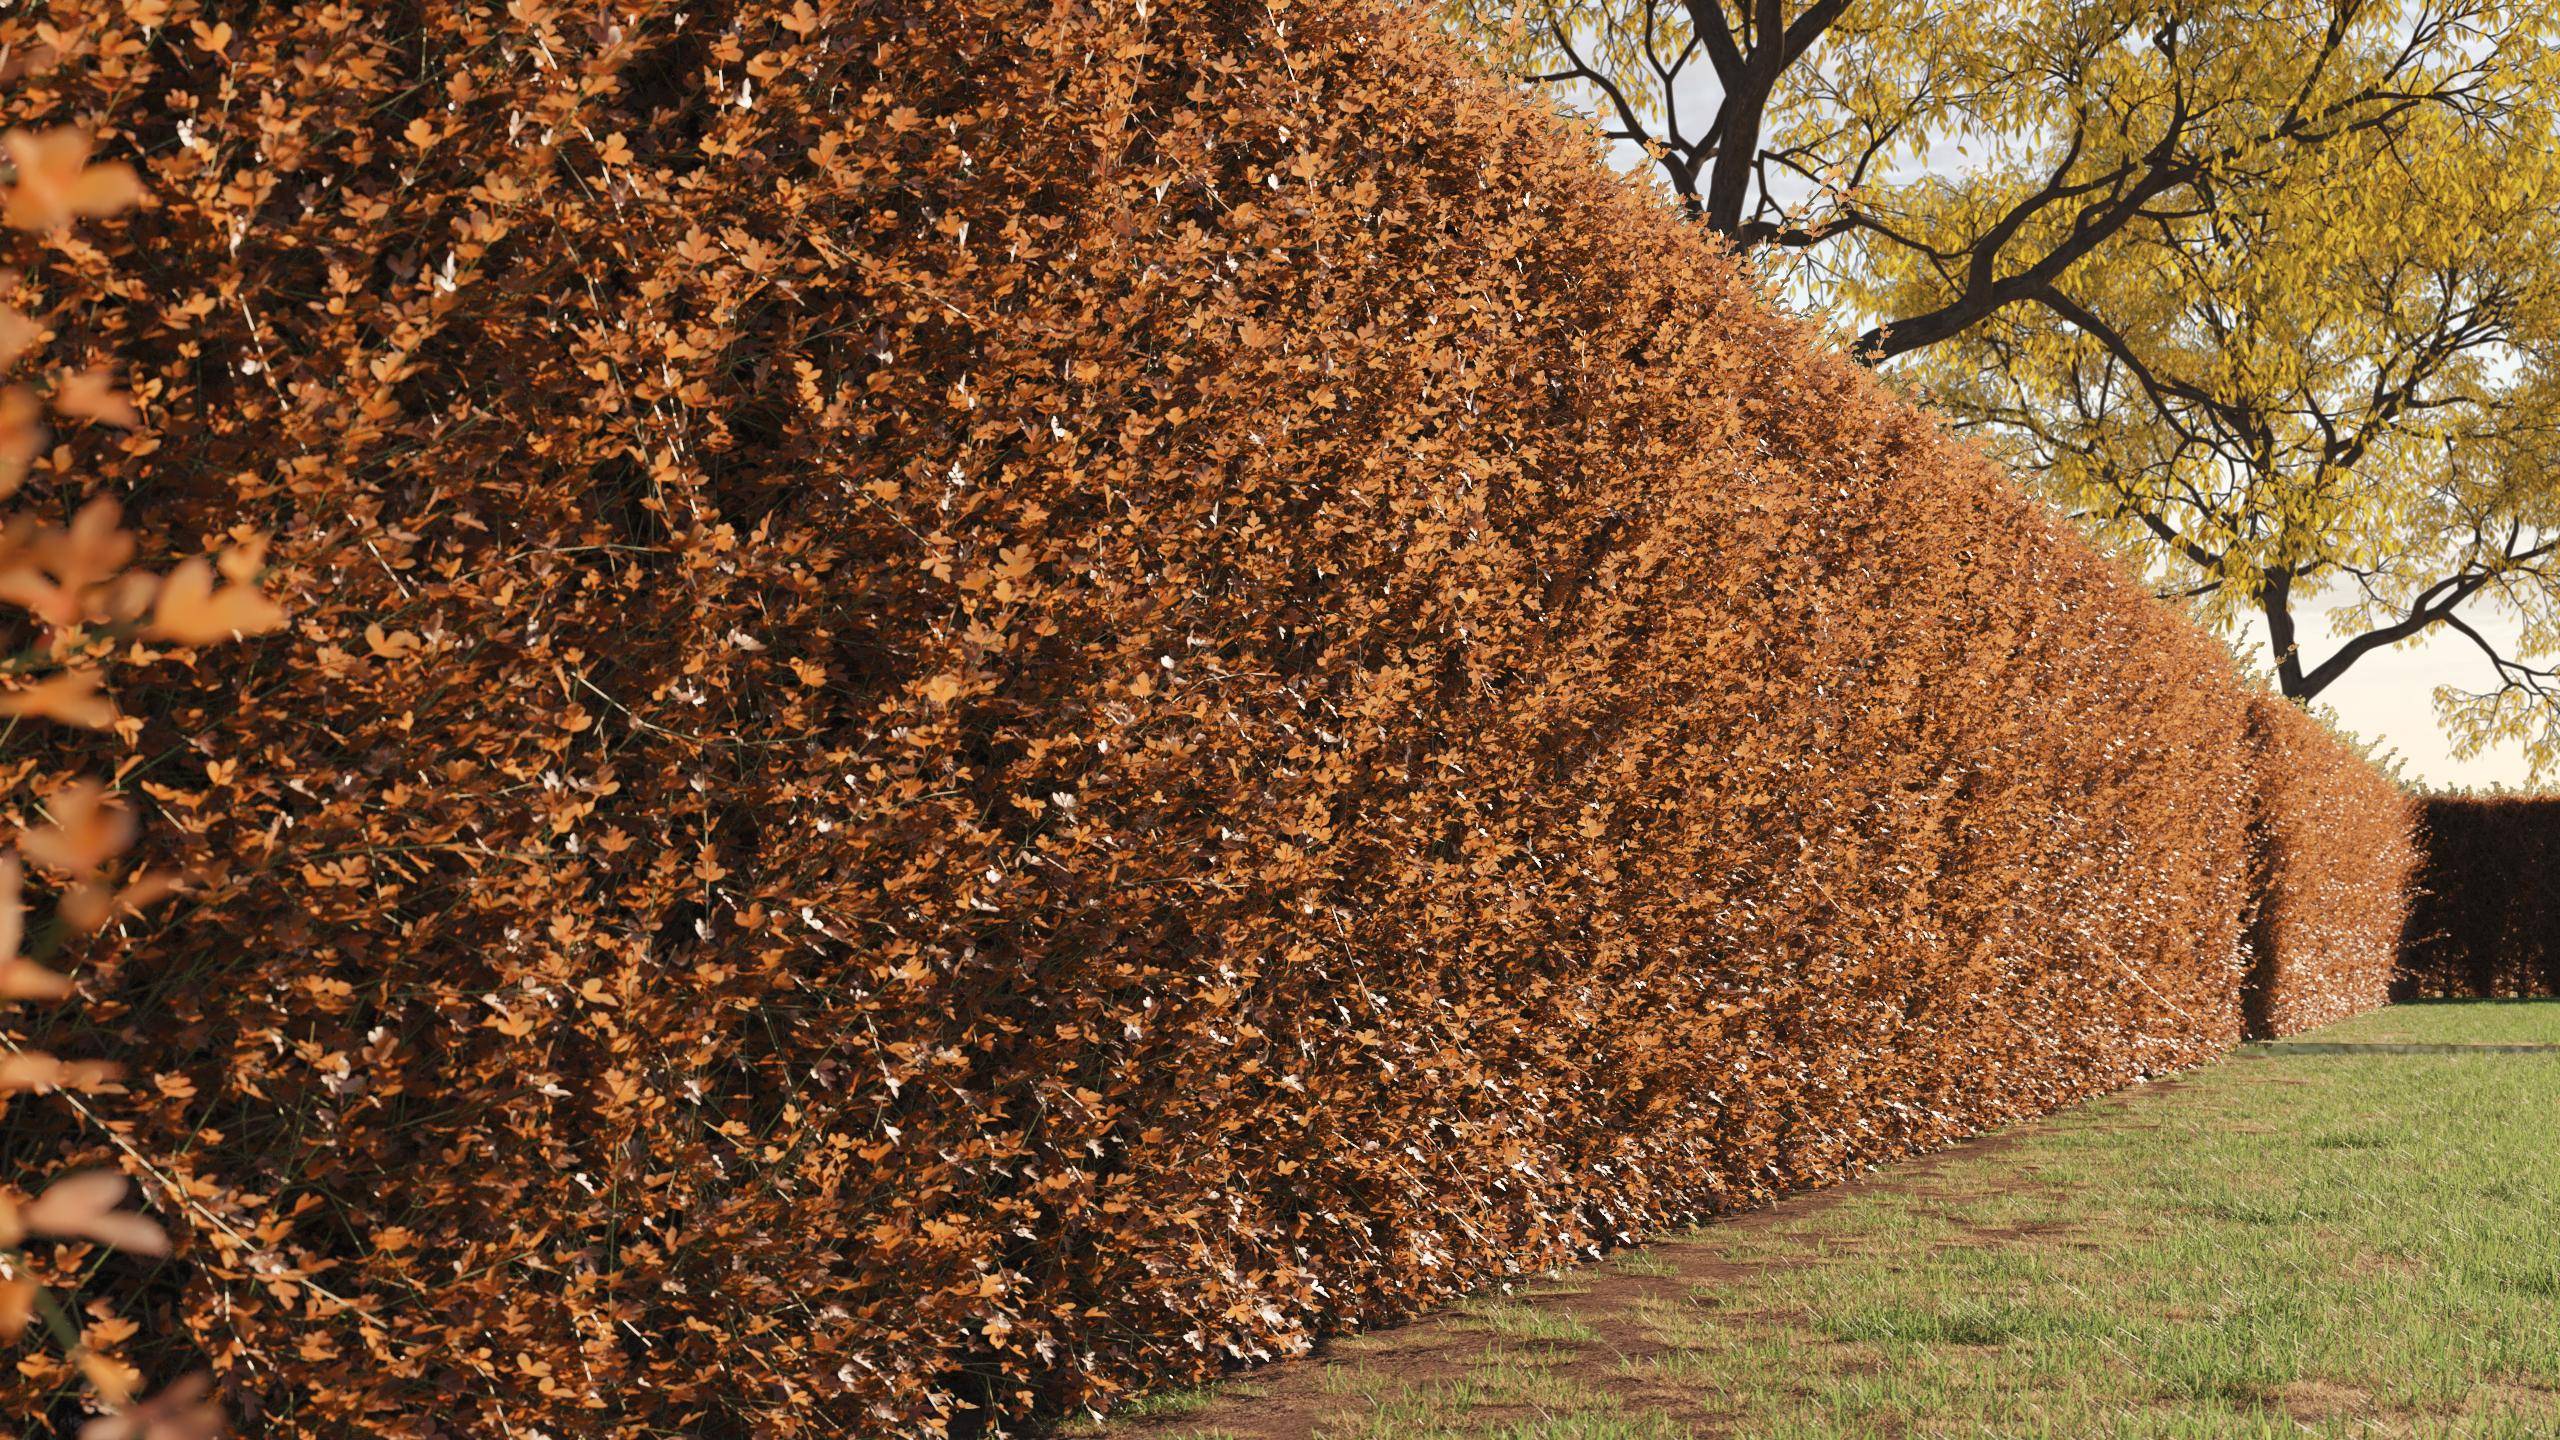
To improve the randomness, follow these steps:
- Wire a Forest Colour map after the first Colour Correction node. Wire the Colour Correction node to the Default Map and Map 1 input.
- Set Get ID From to Element so that each leaf gets a random material.
- Clone the Colour Correction map and wire it to the Map 2 input. Adjust the Hue and Saturation to get a yellow leaf colour.
- Wire the original green map to the third input. You can control the probability of these maps using these values. For example, you can reduce the probability of the green leaves to 5 percent.
- Render again. Your scene should now display a more varied and realistic look.

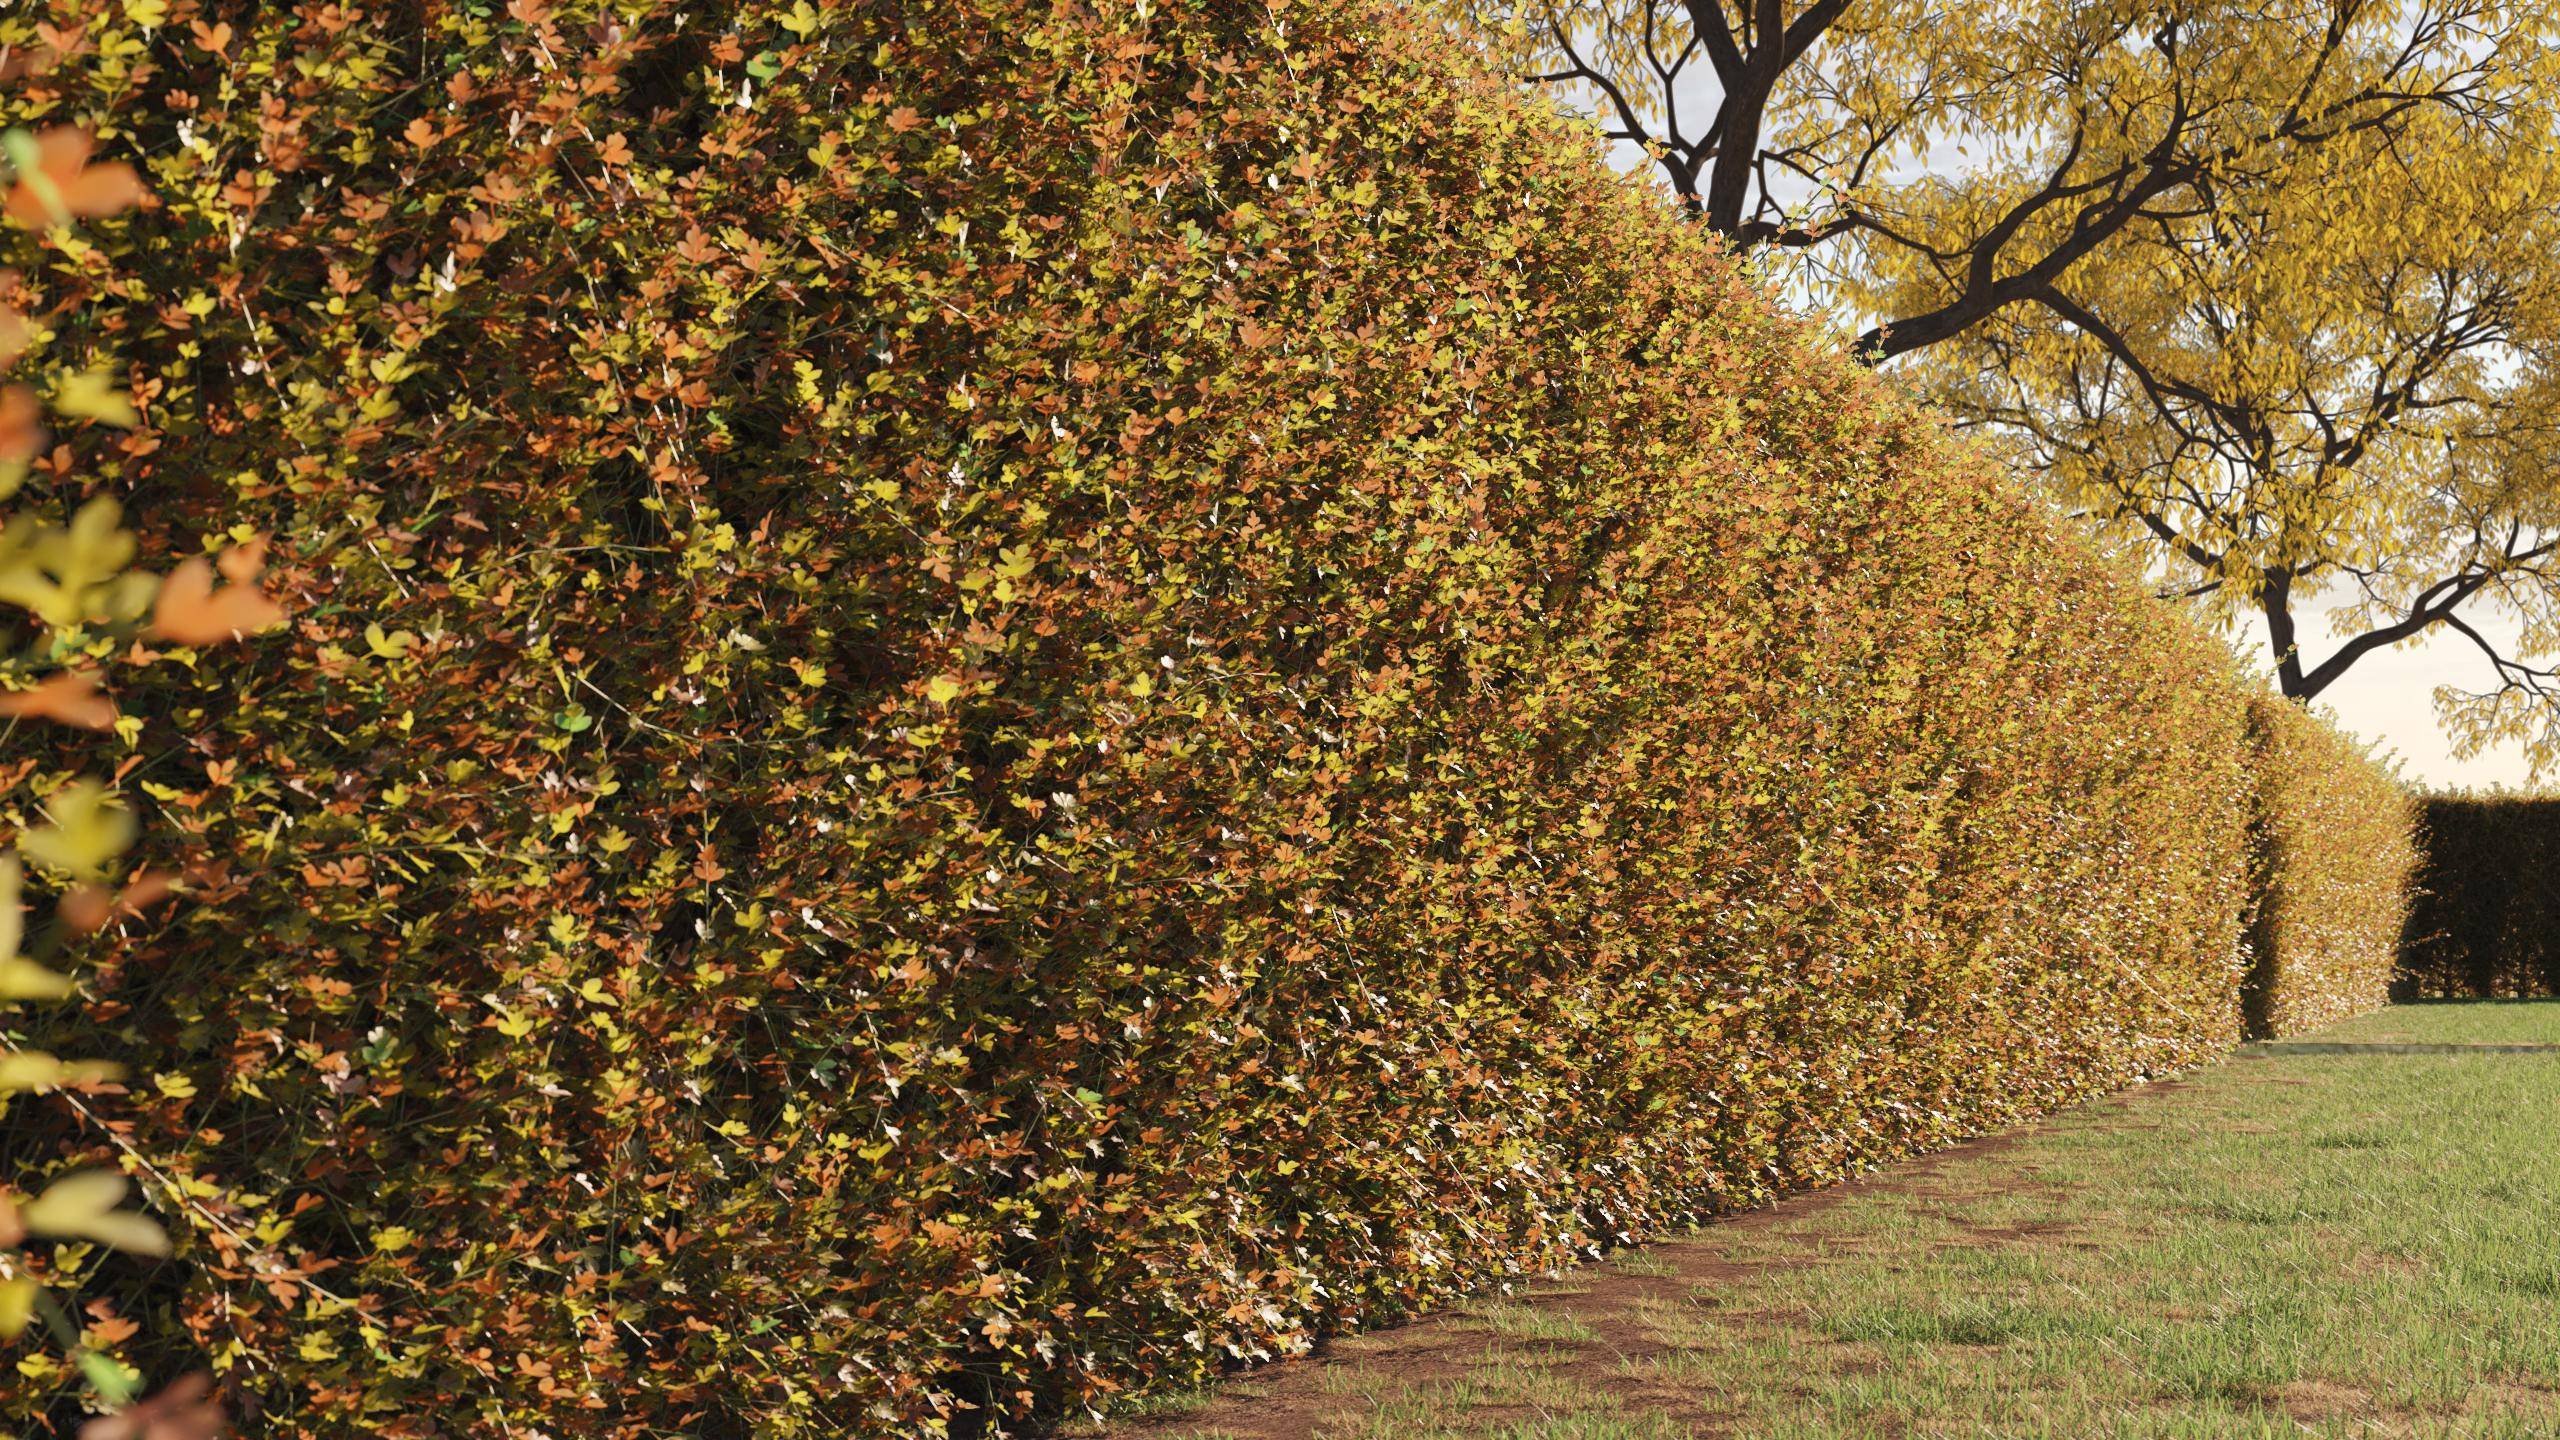
Adding Green and Yellow/Brown Patches
Remember that in autumn, the entire bush doesn't brown at once. Instead, you'll see a beautiful mosaic of green and yellow/brown patches. Achieve this effect by following these steps:
- Wire a mix map after the Forest Colour map and wire the original green texture to the other input.
- Wire a Noise map to the Mix Amount input. You can adjust the size as desired.
- Set the Noise type to fractal.
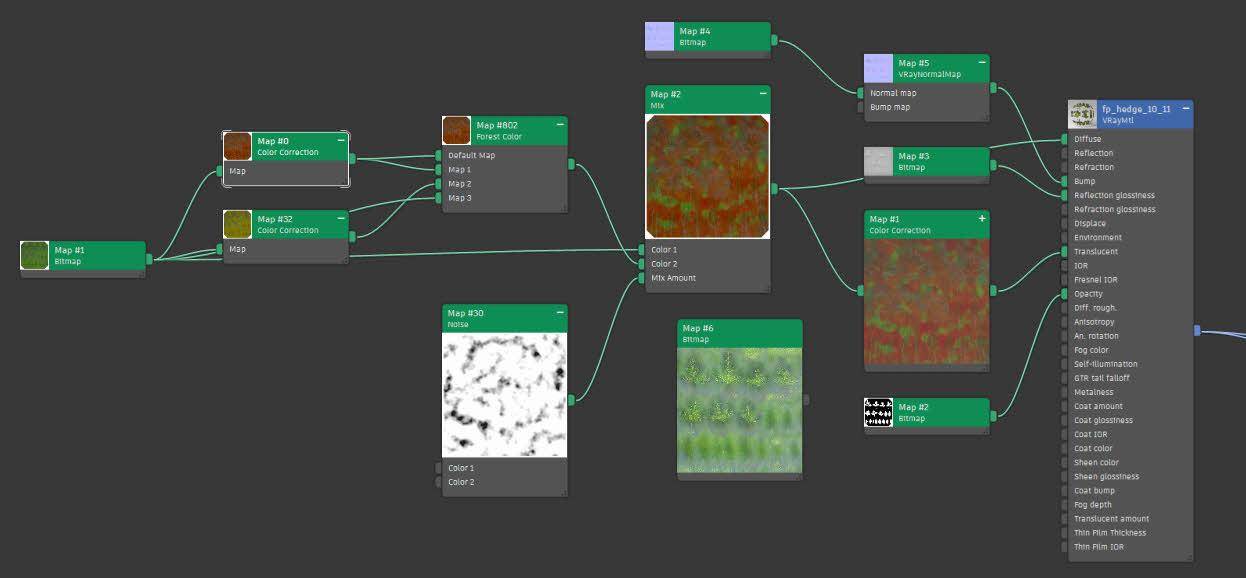
- To add more contrast and better define the patches, enable Color Map and add two points to the curve. Set the first point on 0 and the second on 1, then move them together to increase the contrast. Here's the final shader
![The finished autumn shader The finished autumn shader]()
- Render the scene. By now, you should have a realistic-looking autumn hedge.

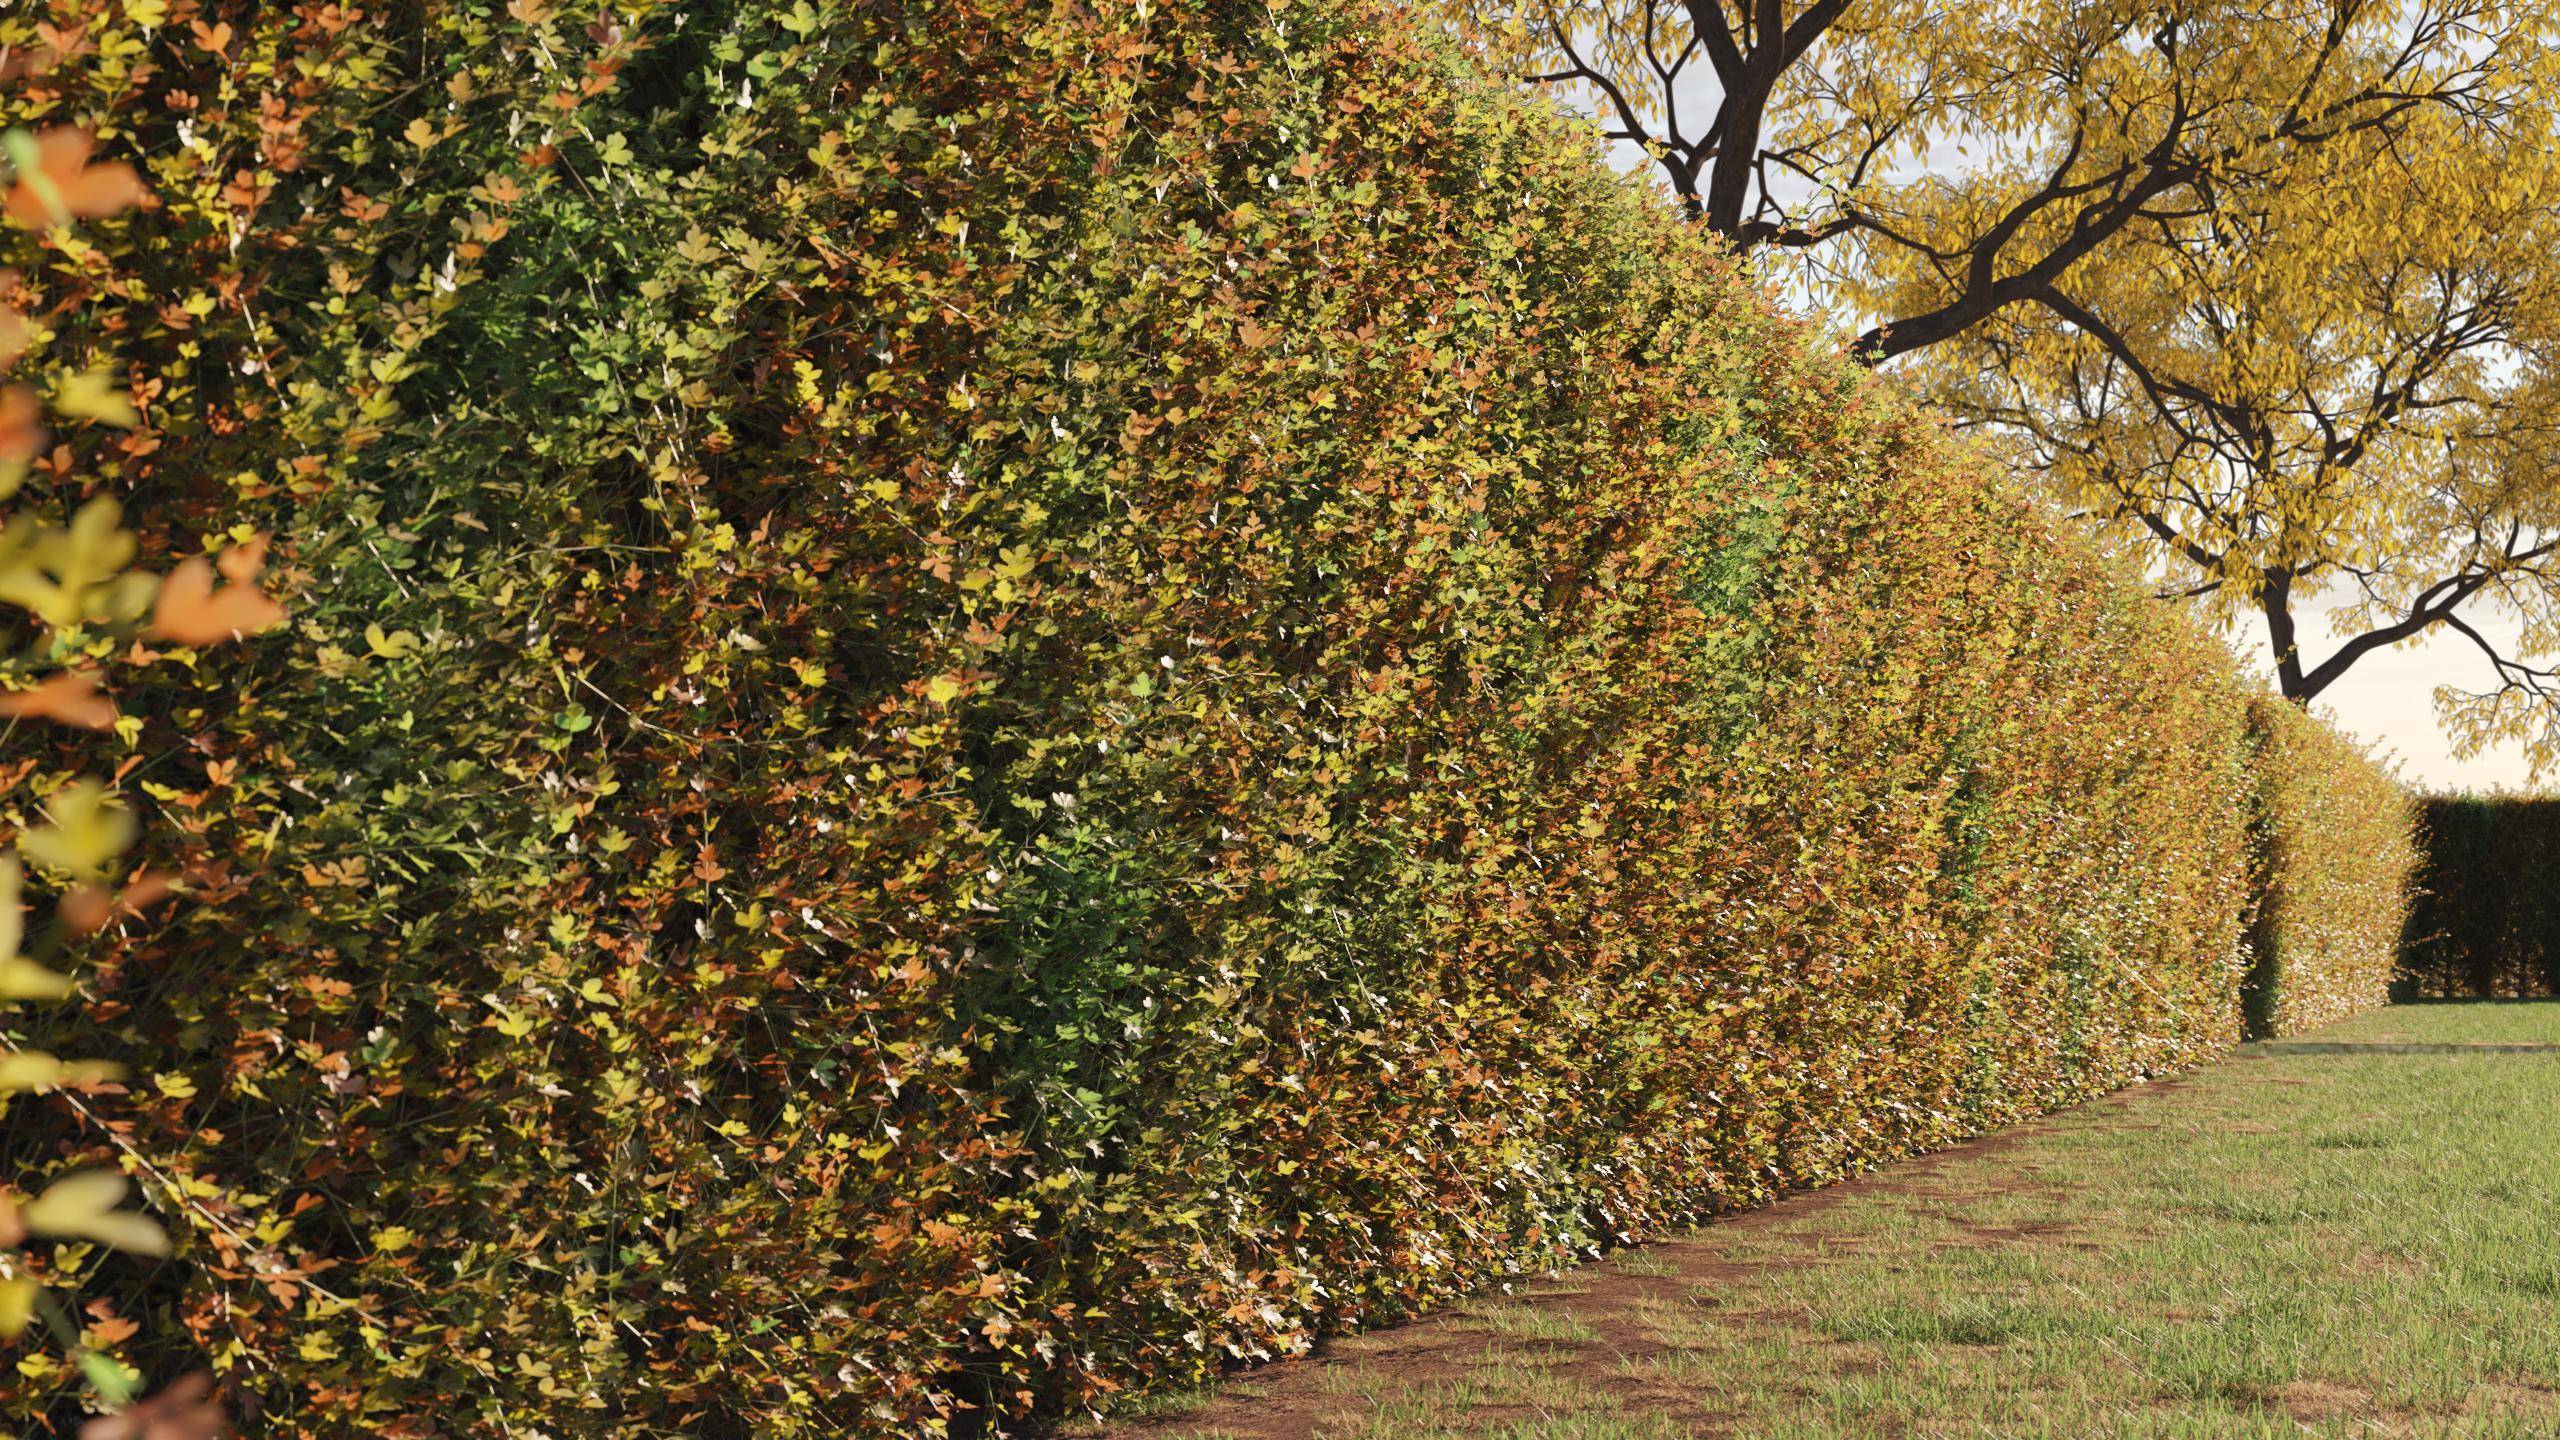
With this workflow, you can easily tweak the curve to control the amount of green or brown leaves, and adjust the tints using the colour correction nodes. It's quite an adaptable process that provides full control over the final look of your scene.
We hope you found this tutorial helpful! Don’t forget to follow us for more updates and tips like these. As always, thank you for reading and happy rendering!
