- Inicio
- Tutoriales
- Using the Vertical Presets in Forest Pack 6
Requerimientos
- info Forest Pack
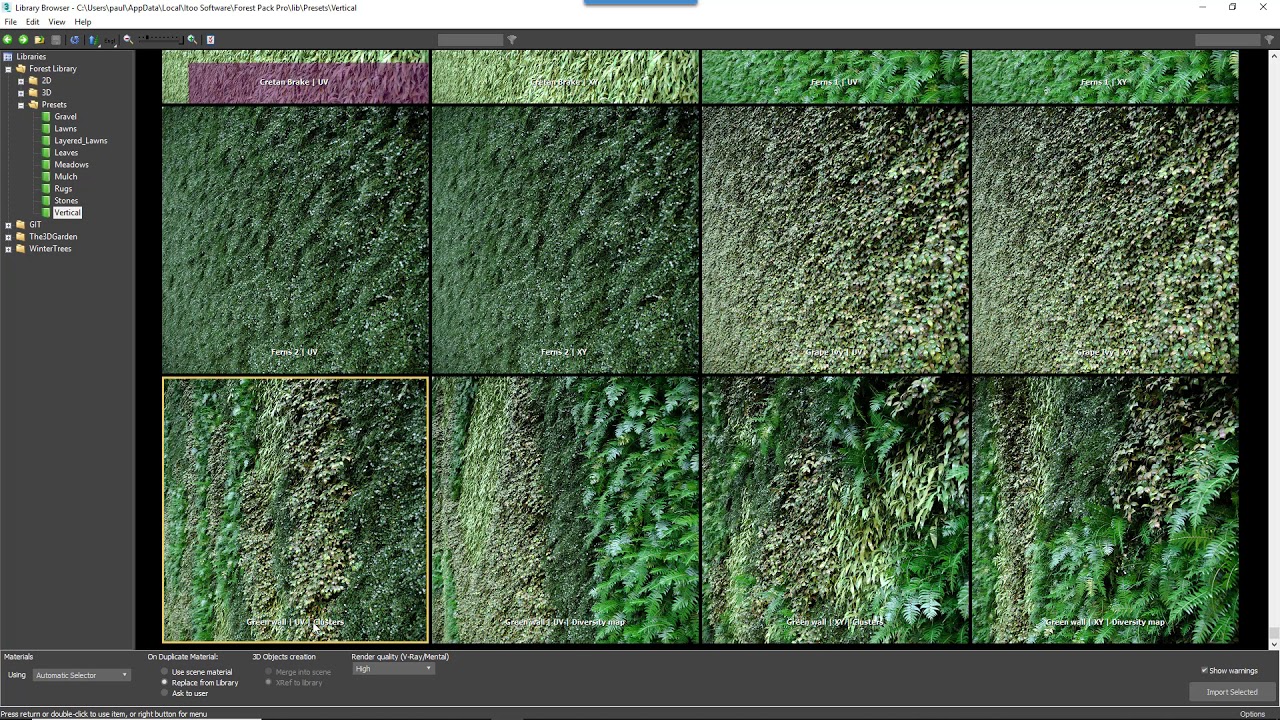
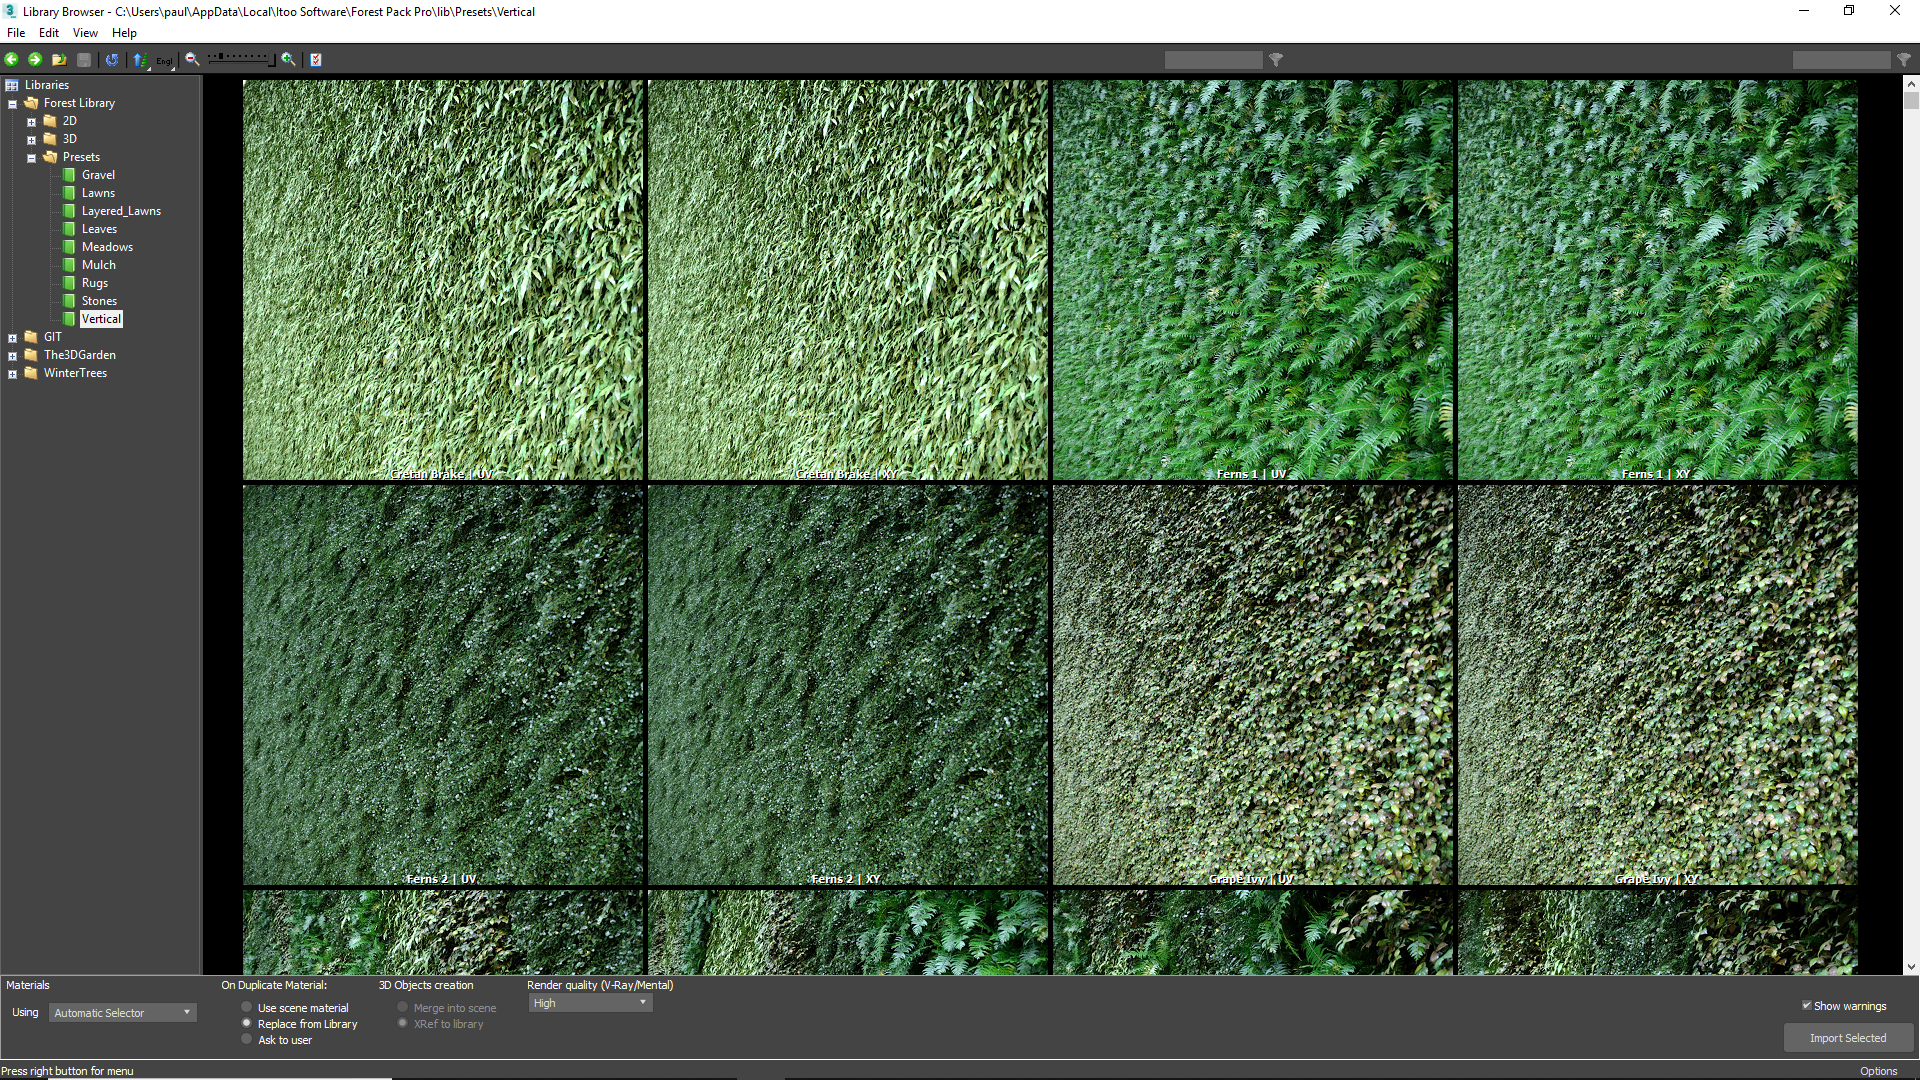
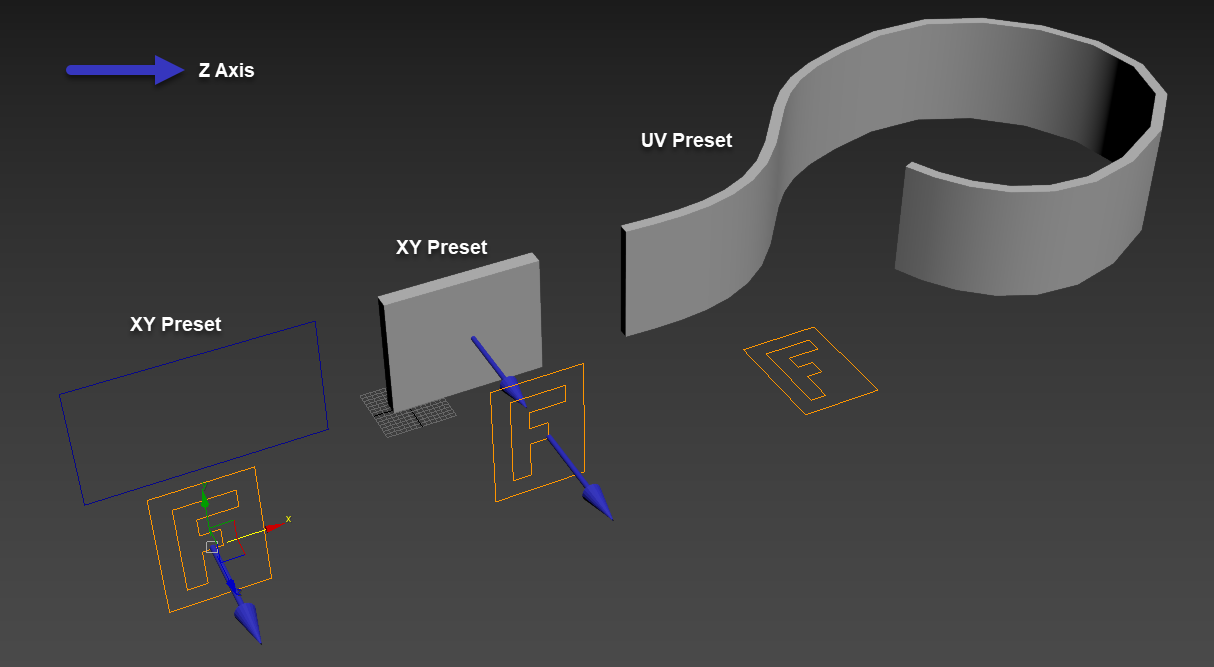
In Forest Pack 6 we added green wall presets to the free built in library. In this tutorial we'll demonstrate how are used. There are two approaches to creating vertical scatters. First of all, for simple planar or mostly planar areas you can simply rotate the Forest object to align with the wall. Alternatively, for more complex surfaces, you can use UV mode to scatter on any arbitrary shape. The built-in library includes both types, and are identified using either an XY or a UV label in the preset's name.
Scattering on Vertical Planar Areas (XY)
Let's start by taking a look at how to scatter of vertical planar areas, which has the advantage of retaining all of Forest Features including edge mode, spline painting and more.
- The easiest way to do this is with a spline. When using a spline, you only need to worry about the orientation of the Forest Object itself, the spline's axis is not at all relevant.
- Forest Pack projects trees along its local Z axis to fill the spline area. This means all you need to do is create a new Forest object in the viewport and orientate it so that its Z axis is perpendicular to the spline.
- Add the Spline to the Areas list.
- You can then pick any XY preset from the built-in library and you're good to go.
When using surfaces there's an added consideration. Forest Pack expects the local Z axis of both the surface and Forest Pack's local Z axis to be aligned. Any deviation from this and you'll start to encounter issues. This means that the Z axis will need to be perpendicular to the surface on which you want the green wall.
- The easiest way to achieve this is to rotate the wall so that it lays flat on the world's XY axes and the reset the XForm. You can then rotate the wall back to the correct position.
- To align the Forest Object correctly to the wall you can either select the Surface during creation, in which case Forest Pack inherits the rotation matrix of the surface object. Alternatively, create the Forest Object in Icon Mode and rotate it so that it is aligned correctly.
- Once this is done you can load any XY Preset from the built-in library and add the wall to the surface list as normal.
Just because the axes must be aligned does not mean that the geometry itself must be perfectly flat, it can of course bend and undulate. But the axes must remain aligned even if the geometry itself is not. The surface's normals should also face towards the Forest object or they'll be ignored. If a surface's normals face away from the Forest object, you'll need to use a UV preset instead,
Scattering using UVs (UV)
If a wall is substantially deformed or faces in multiple directions you may need to use a different approach that scatters objects using the surface's UV channel. In this technique the axes alignment of the Forest Object and the surface are not important. You will need to ensure however that the surface is correctly UVW mapped in order to use these presets.
- Just create a Forest Pack object. Orientation is not important.
- Load a UV preset from the built-in library.
- Add the wall to the Surfaces list.
- If necessary, adjust the surfaces UVWs. Alternatively, you can adjust the density of the scatter by editing the Distribution Map's Density X and Y settings. To adjust each axis separately, uncheck Lock Aspect Ratio.
Clusters or Diversity Maps?
For a some of the presets you'll also notice that there are other types in addition to XY and UV called Clusters and Diversity Map. These labels tell you the way the planting patterns are created. In the clusters presets the plants are grouped together using Forest Pack's automatic clustering features.
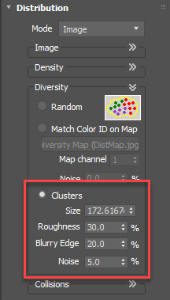
- If you want to adjust this type of preset, go to Distribution > Diversity.
![Using the Vertical Presets-image2018-8-16_14-58-6.png]()
- Use Size to adjust the size of the clusters.
- Use Roughness to affect the shape
- Use Blurry Edge to have the clusters bleed into one another.
- And finally you can use Noise to add random plants to clusters
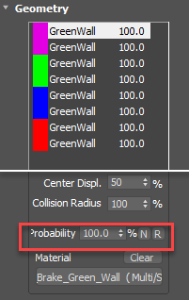
- You can also control the proportions of the clusters using the Probability settings in the Geometry List.
![Using the Vertical Presets-image2018-8-16_14-59-43.png]()
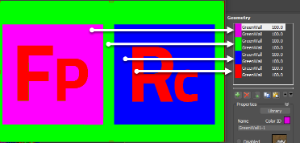
For a more manual approach, Diversity Map presets use a coloured bitmap to create planting patterns. These maps use the colours shown in the geometry rollout and they can be easily swapped to create your own custom patterns.
Of course, this is not only true of our built-in presets, these guidelines are helpful whenever you need to create a scatter at an unusual angle. For a more in depth tutorial on creating your own vertical styles, check out our green walls tutorial.
