Conditions
- info Forest Pack Lite or Pro

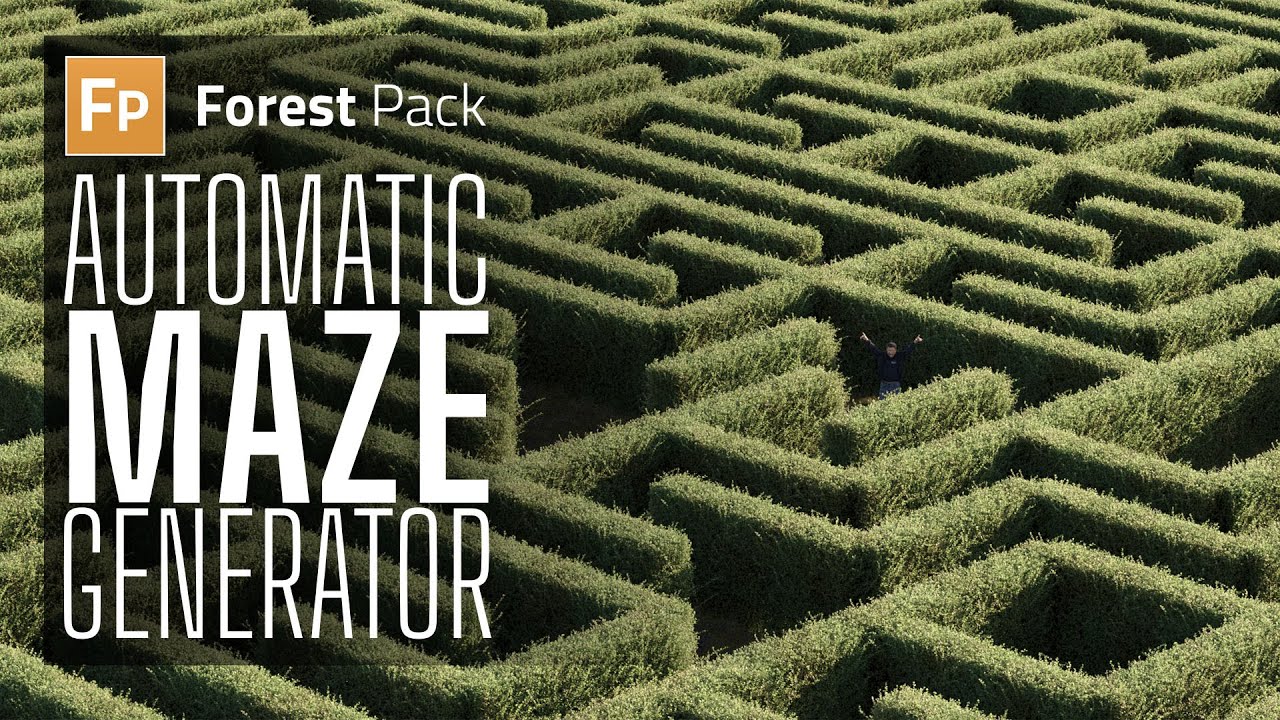
This is less a tutorial and more a demonstration of an interesting quirk of maths, in this video, we’ll use Truchet tiling to quickly create a maze effect with Forest Pack. A Truchet tile is any pattern that has rotation symmetry which when randomly rotated in 90-degree increments, creates interesting emergent patterns.
To do this you start with a single length of hedge.
- First, draw a spline about three and a half meters long
- Create a new Forest Pack object and open the library browser. Go to the Cut Hedges library and select a hedge preset
- Go to the Distribution rollout and assign the spline.
Now we need to prepare the hedge for nesting inside another Forest Pack object. We could use it as it is, in which case it’d need to be collapsed to a single object, but in this case, it’s likely to be more efficient to instantiate it as a Group and then scatter the group instead. To do that:
- Open Forest Tools
- Enable Create Group and click Instantiate.
- Move the pivot to the bottom of the group by going to the Hierarchy Panel and enable Affect Pivot Only. Set the Z position to 0.
Now we have our section of hedge, let’s turn it into a quick maze.
- Create a new Forest object and add a closed Spline to the Areas list. This will define the extent of the maze.
- Add the Group created in the previous steps to the Items list. Remember you can’t pick a group directly, so press H on the keyboard and select it from the list instead. To see it better in the viewports, change the Display mode to Points-Cloud
- Change Distribution mode to Full and adjust the Density to close the gaps.
- Now let’s rotate these hedge segments in 90-degree increments. Go to the Effects rollout and click the + button to add a new effect. Open the Effects library, and load the Stepped Rotation effect from the Transform group.
- Set the step value to 90. Nearly there but not quite. To finish the maze effect. The hedge should bisect the square tile diagonally. However, instead of editing the source geometry, I’m simply going to adjust the rotation of the distribution map. Go to the Distribution rollout and change the Rotation property to 90 degrees.
Voila! Instant maze!
Finally, if you want to add a few more open routes through the maze, you can add a new item, set it to Disabled and lower the probability.