Resources
Requirements
- info RailClone Lite or Pro
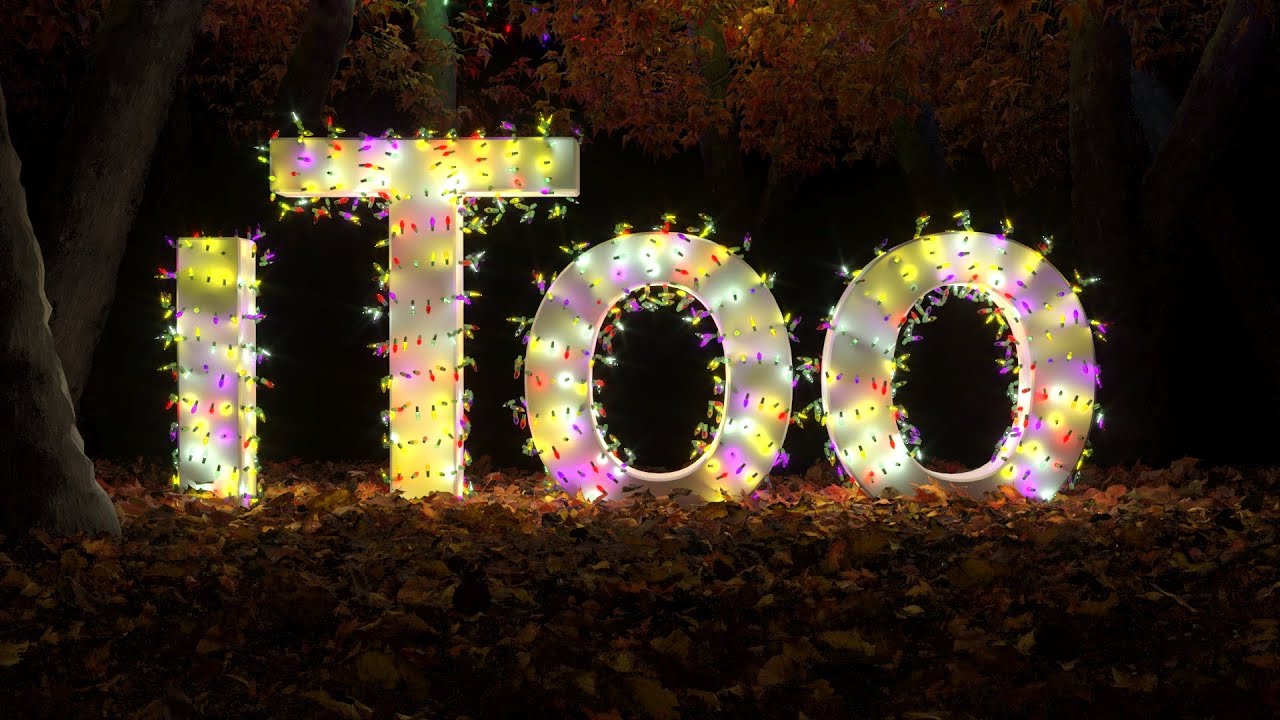
It’s time for our annual festive quick tips tutorial and this year, we’re going to explain how to create fairy lights using RailClone. If you’re not already a RailClone user, then don’t worry, this tutorial works fine with RailClone Lite, a completely free version with nearly all the features of the paid plugin.
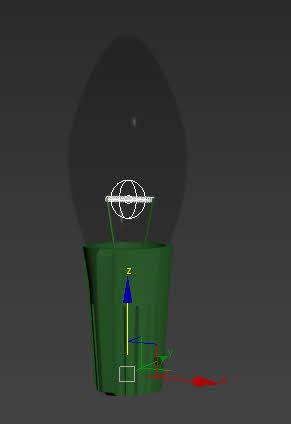
Let’s start with a look at the assets. First of all, you’ll need some geometry for the lights. In this example, we have a simple plastic base and a glass bulb. The glass is assigned to Material ID2, but if you take a look at the material, there are additional colours on IDs 3, 4, 5, and 6. We're using a V-Ray Light light rather than self-illuminated materials. It's located inside the bulb and both items are grouped together (remember, since version 5 RailClone supports groups). Give the group a name to make it easy to locate later and then move the pivot to where you’d like it to connect to the cable.
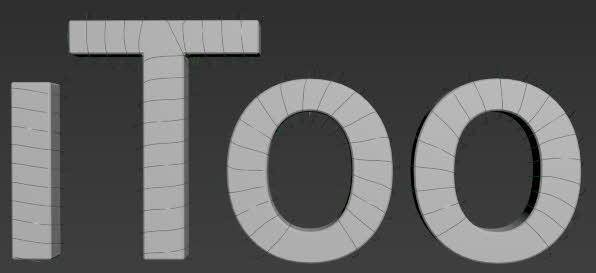
As well as the lights you’ll need a spline for the cable. We’ve wrapped it around the iToo logo, but it started life as a simple helix (any spline shape will do).
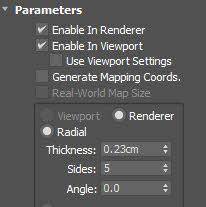
Rather than use RailClone to add the cable geometry, an even easier option is to simply make the spline renderable using the settings in the Spline object, adjusting the thickness and number of sides as you see fit. Alternatively, you using the Renderable Spline modifier.
Now let’s add the lights to the spline:
- Go to the Create panel, the iToo Software sectionand select RailClone. Click and drag in the viewport to add a new RC object.
- Go to the Modify panel, and in the Style rollout, click the button to open the Style editor. This is a node-based editor we use to create rules that generate parametric models.
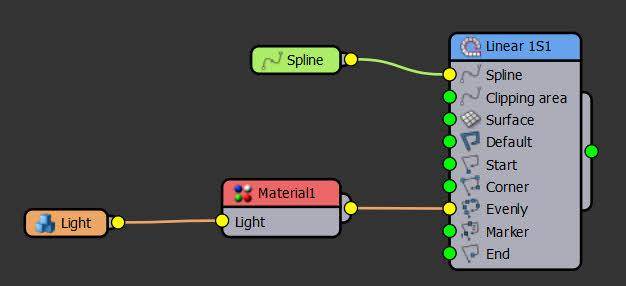
- To distribute objects along a spline, add a Linear 1S generator.
- To tell the generator which spline to use, add a Spline node and wire it to the Spline input of the Generator.
- Go to the Spline node’s settings and use the object picker to select the spline from the scene.
- To import the lights, add a Segment node, go to the settings and click the object picker. You can’t select a Group directly from the viewport, so instead, middle-click on the scene to bring the focus back to Max and then press H on your keyboard to open the object picker. Select the Group and click to Pick.
- Go to the Deform tab and deactivate the bend option.
- We want this light to be placed at regular intervals along the spline. To do that wire the Segment to the Evenly input of the Generator. To change the spacing, go to the Generator’s settings, select the Rules tab, and locate the Evenly Distance parameter. Change this setting to adjust the spacing of the lights.
- To use the pivot we set on the group earlier, go to the Segment node and change the Y and Z alignment to pivot.
- Finally. Let’s add a little variety to this, go to the Transform tabm check the Random Rotation option and add Min and Max values.
- If you render now, you’ll have lights but they’re all the same colour - green. Let’s look at how we can control that.
- Remember the glass is on Material ID2, but we have additional colour on IDs 3 to 6. We can use a node to switch the IDs directly in RailClone. To do that, wire a Material node between the Segment and the Generator.
- Use the Replace Material ID parameter to specify the ID you wish to change. In this case ID 2.
- If you want to simply swap the Colour to another, you can set the From and To values so that they are exactly the same. For example, setting both properties to 3 gives you red lights, 4 is yellow, 5 is blue and 6 is white.
- You can also randomise between a range by making the From and To values different, to randomise the full range set From to 2 and To to 6.
- And finally, you can also create a repeating pattern instead of a random distribution by changing the Mode to Sequence.
And really that’s all there is to it. You can easily edit the existing splines or even assign it to completely new ones.
This is our last tutorial of 2022, and so I’d like to take this opportunity on behalf of everyone at iToo to say a sincere thank you for watching and using our plugins and wish you all a happy holiday! See you in 2023!