Requirements
- info Forest Pack Pro
If you’ve tried scattering small objects on a surface that uses displacement you’ll have encountered a problem. Forest Pack calculates its position information according to the surface’s state before render time, but displacement is not calculated until render time. The resultant changes in the surface at render time can result in the terrain disconnecting from the scattered geometry, especially for very small objects like ground cover. To illustrate let’s look at a small scene created using a number of Quixel’s Megascans assets. Here’s the render of the landscape without the small plants and leaves but with displacement enabled using VRayDisplaceMod modifiers.

This is looking good, so let's add small plants and leaves to the scene. We won’t go through the creation of these in detail, they’re simply applied to the surface in the usual way. In the viewport, you can see that the scattered objects are sitting nicely the ground surface as you would expect.
But here’s what happens when we render, because the terrain has been displaced up to a maximum of 10cm above the original position the bottom of the grasses and the clover are being buried, and the leaves have been completely covered!

So how do you fix this? One way is to forget VVRayDisplaceMod modifiers and instead heavily subdivide the model and use Max’s Displacement modifier to deform the geometry before render time - but realistically, it’s seldom going to be possible to get the necessary detail using this technique.
Instead, we can use a nifty Forest Effect to translate the scattered geometry in the viewport to match how the ground will appear after displacement. To use it:
- Create your Forest Pack object and scatter on the displaced surface as usual.
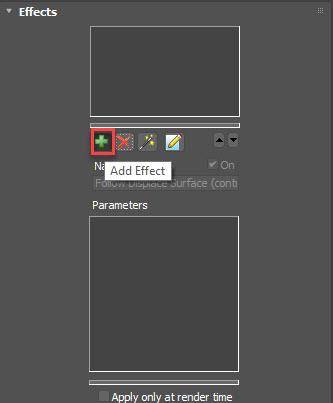
- Go to the Effects rollout
- Click on the + button to add a new effect.
![]()
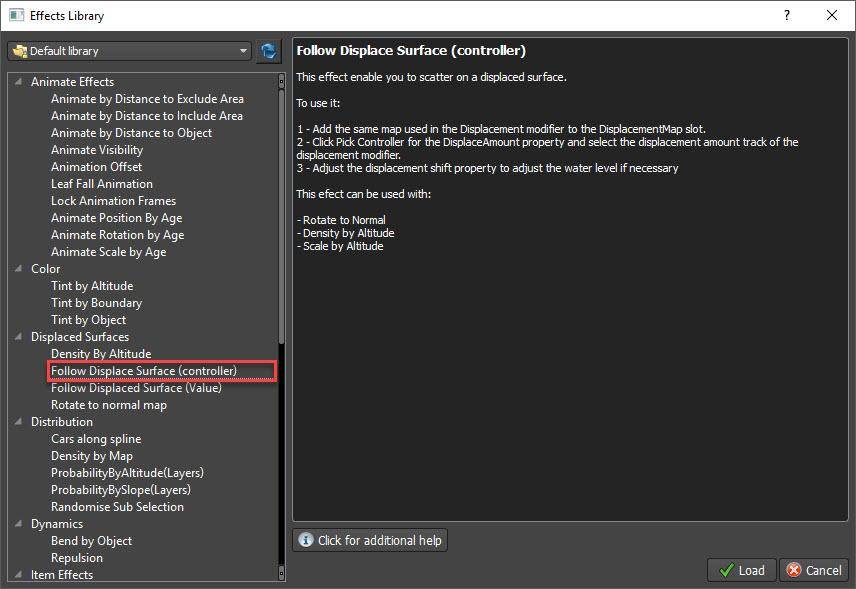
- Click on the Effects Library button. A window will open containing all of the effects included with Forest Pack along with a brief description of what they do and how to use them.
![]()
- Locate and the effect called Follow Displace Surface (controller). It’s in the Displaced Surface group. Click Load.
- A number of options will be added to the Parameters list. For most uses, you will only need to worry about the first two: Displacement Map and Displace Amount.
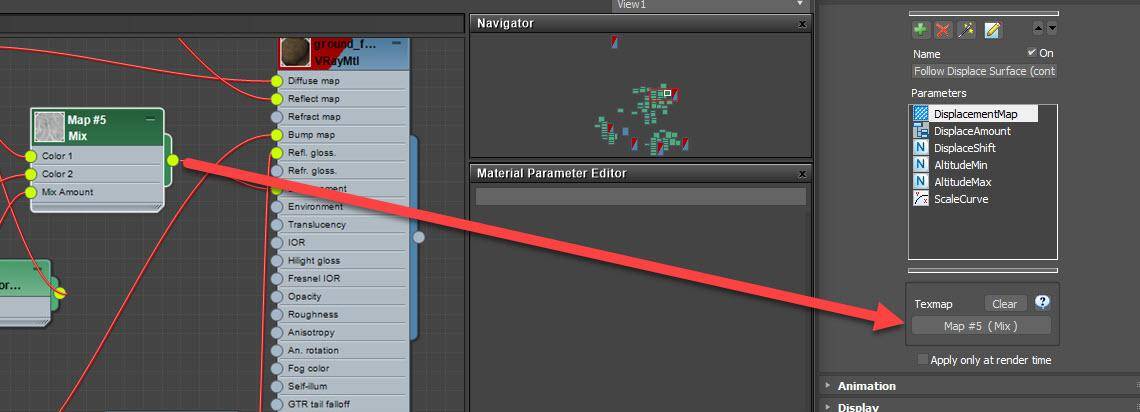
- Add the displacement map that's applied to the surface to the Effect’s DisplacementMap Parameter.
![]()
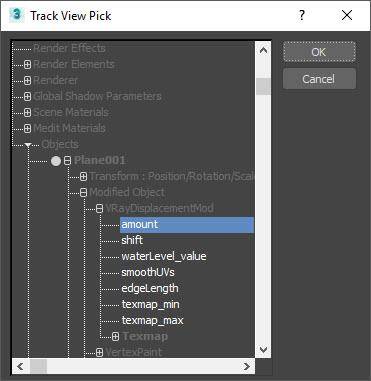
- To control the amount of displacement, we link the Forest Object directly to the VRayDisplacementMod Modifier. That way if you update the modifier, Forest Pack will be automatically adjusted too. To do this, click on the DisplacementAmount parameter and then click Pick Controller. From the Track Selector, find the terrain object and locate the Amount parameter of the VRayDisplacementMod modifier. Click OK.
![]()
- If you are using it, do the same thing for the Shift value or enter the number manually depending on which version of the effect you have installed.
- That’s all there is to it. If you toggle the effect on and off, you will see the position of the scattered items translating to take into consideration the surface’s displacement. Because of the live link, you can also change the displacement modifier’s amount, and Forest Pack updates live!
- We don’t really need them for this project. But it is also possible to use the altitude information from the distribution map to Scale items using the AltitudeMin, AltitudeMax and Scale Curve the same way as you would use the equivalent parameters in the Surface rollout.
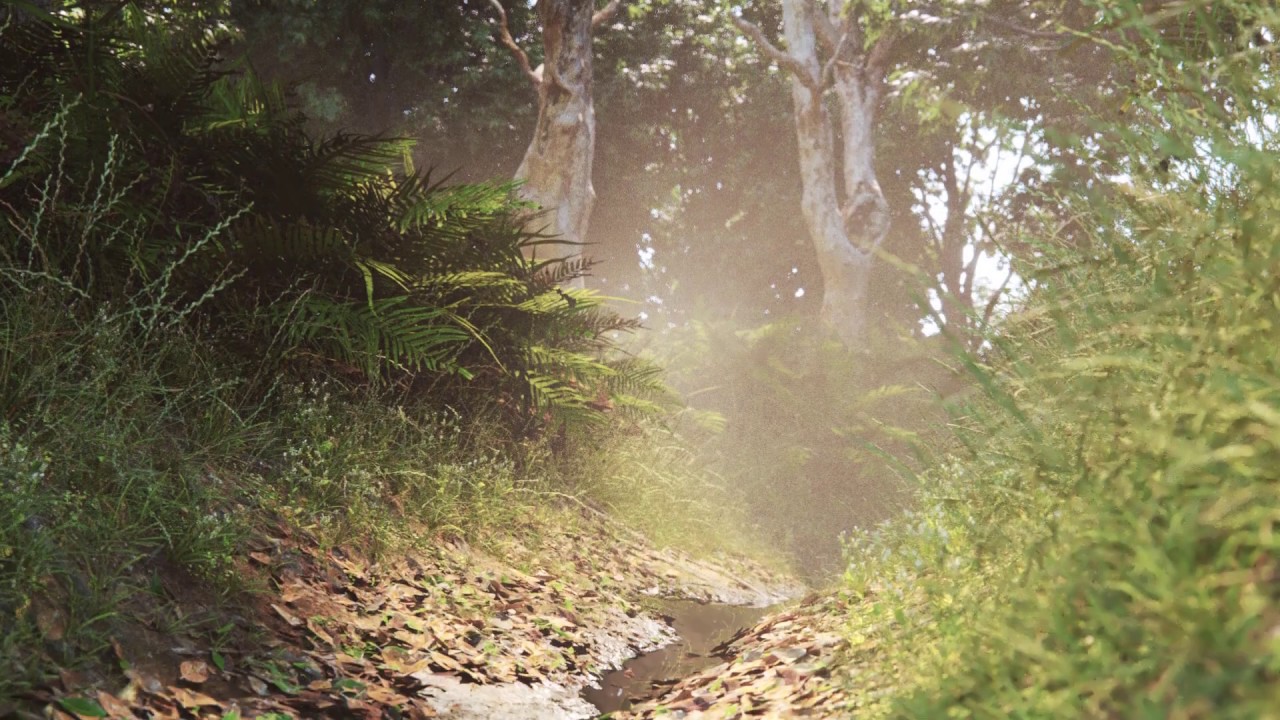
Here's how the final image looks with the correct translation so that items are scattered on the displaced surface.

We hope you find this quick tip useful. Stay tuned for more videos to help you get the most from Forest Pack’s Effects and RailClone’s Macros.