Resources
Requirements
- info Forest Pack Pro or Lite

Welcome to a special Valentines Day tutorial in which we use the holiday as a flimsy excuse to learn about that most romantic of Forest Pack features, inverted falloff curves. We’ll demonstrate how this feature can be used to scatter items around the edge of Include and Exclude areas, a technique we use to scatter the leaves around the text and heart shape in the header image.
To illustrate how it works, we’ll load a preset from the library:
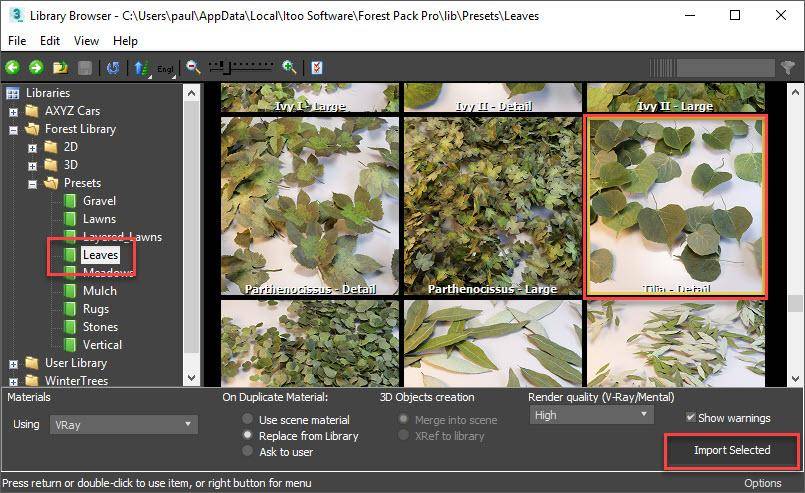
- From the Create panel, select Forest Pack and open the Library Browser. Pick a leaf preset and click Import selected.
![Library browser window]()
- Select a Spline area. Leaves will be scattered inside the area.
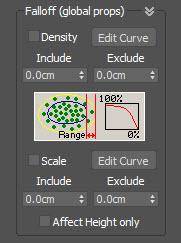
- Go to the modify panel and open the Areas rollout. Select the existing spline area. Near the bottom of the rollout you’ll find the Falloff settings. Normally these are used to control the size and density of items near the edges of an area.
![Falloff Settings]()
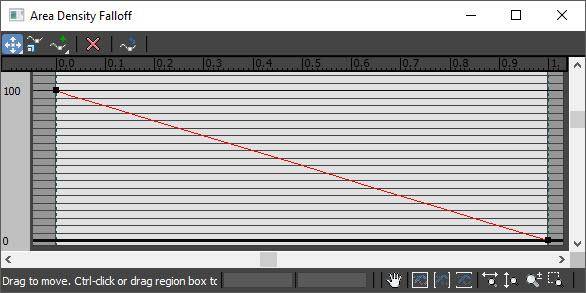
For example, by increasing the Density > Include value the number of leaves is reduced as they get closer to the spline. The amount the density is reduced is controlled by a Falloff Curve. The X-Axis represents the Distance measured from the edge of the area, and the Y-Axis represents the Density.![Falloff Graph]()
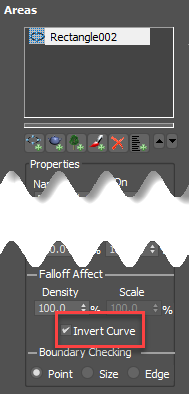
- But what if we want the opposite? What if we want dense leaves around the perimeter, gradually reducing to nothing toward the centre of the area? That’s where the Invert Curve button can help out. Simply by clicking this option, the falloff shape is inverted and leaves are densest around the perimeter, reducing gradually to nothing the further they fall from the edge.
![]()
- Essentially the checkbox is inverting this graph so, for example, if you wanted to retain some leaves throughout the area, you just need to lower the point on the left side of the graph a little.
- You can use this trick with Exclude areas too. Just add a new Spline area, pick a spline from the scene, set it to Exclude, and then turn on Invert Curve. There’s a separate Distance control for Exclude areas, so you can have a different falloff size for Include and Exclude areas.
And that’s all there is to it. Simply add as many Include and Exclude areas as you need, making sure that you turn on Invert Curve for each one.
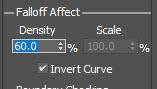
You can even control the strength of the falloff effect on a per area basis, using the Falloff Affect values. Though we’re not using it here, the same technique can also be used for scale falloff too!

We hope you found this tip useful, stay tuned for more short tutorials, tips and tricks coming soon.